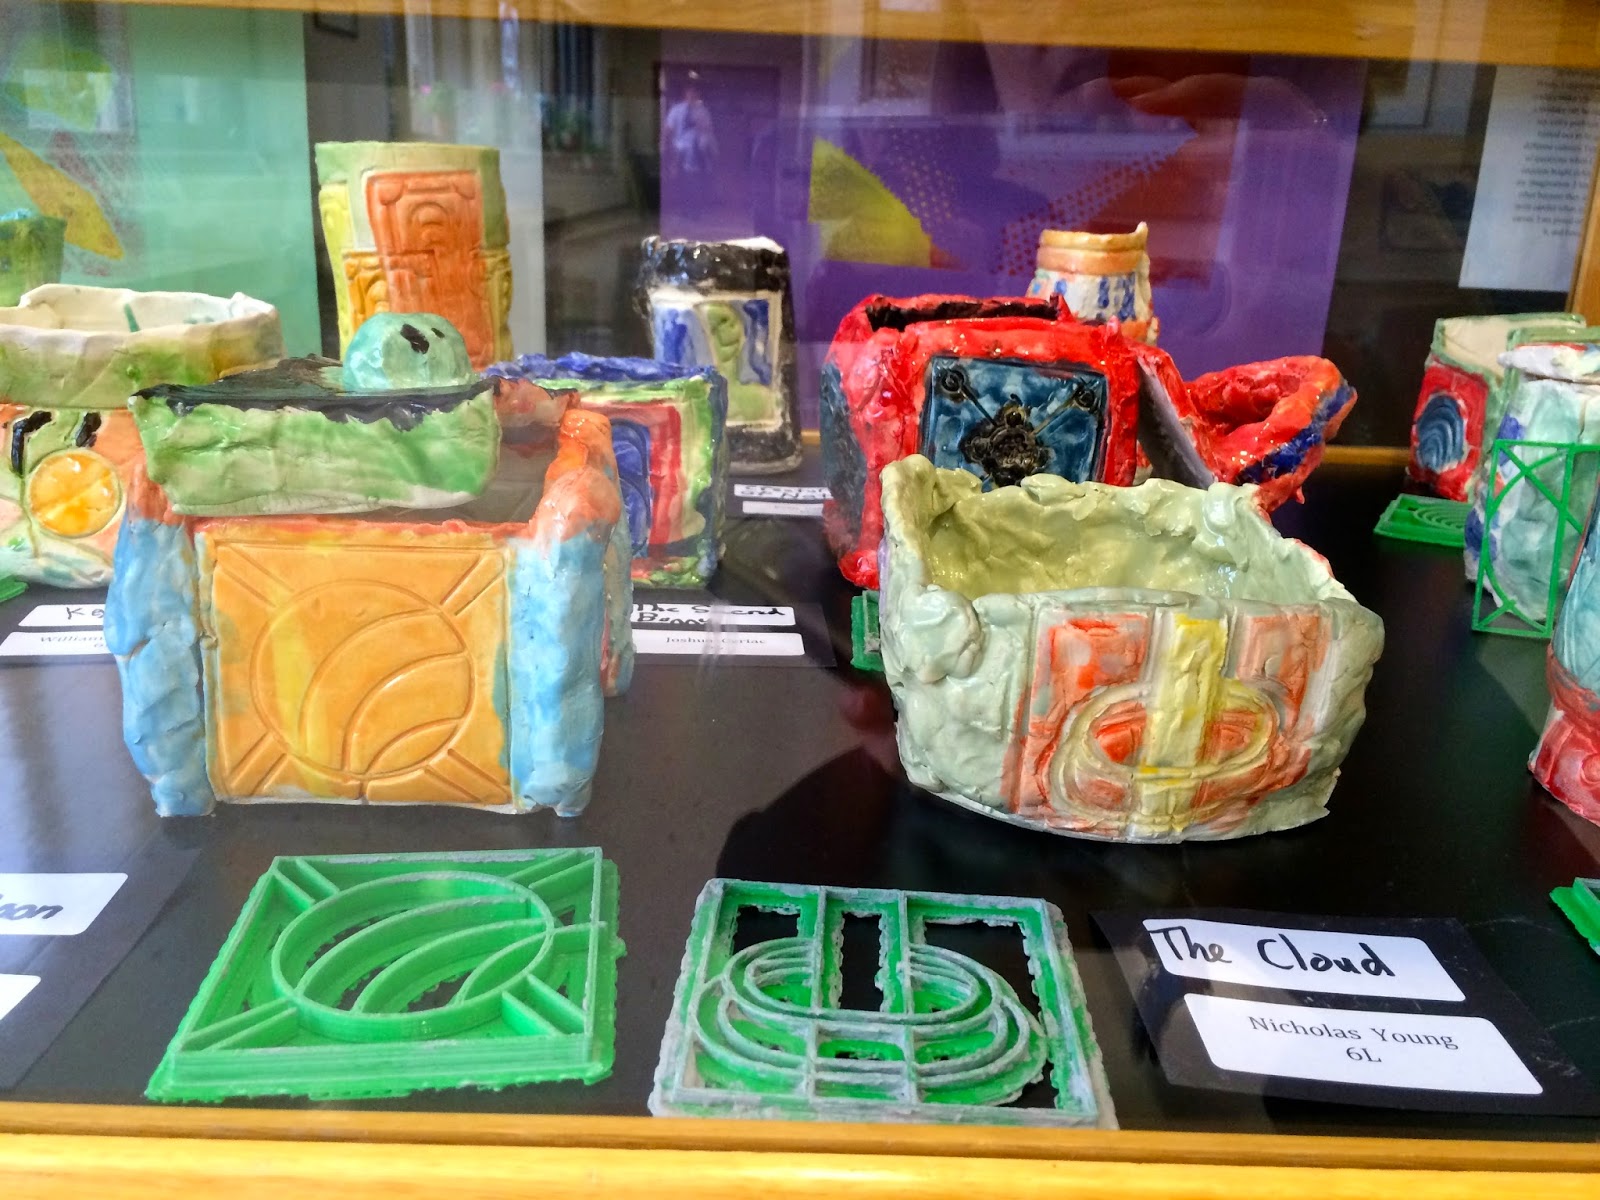
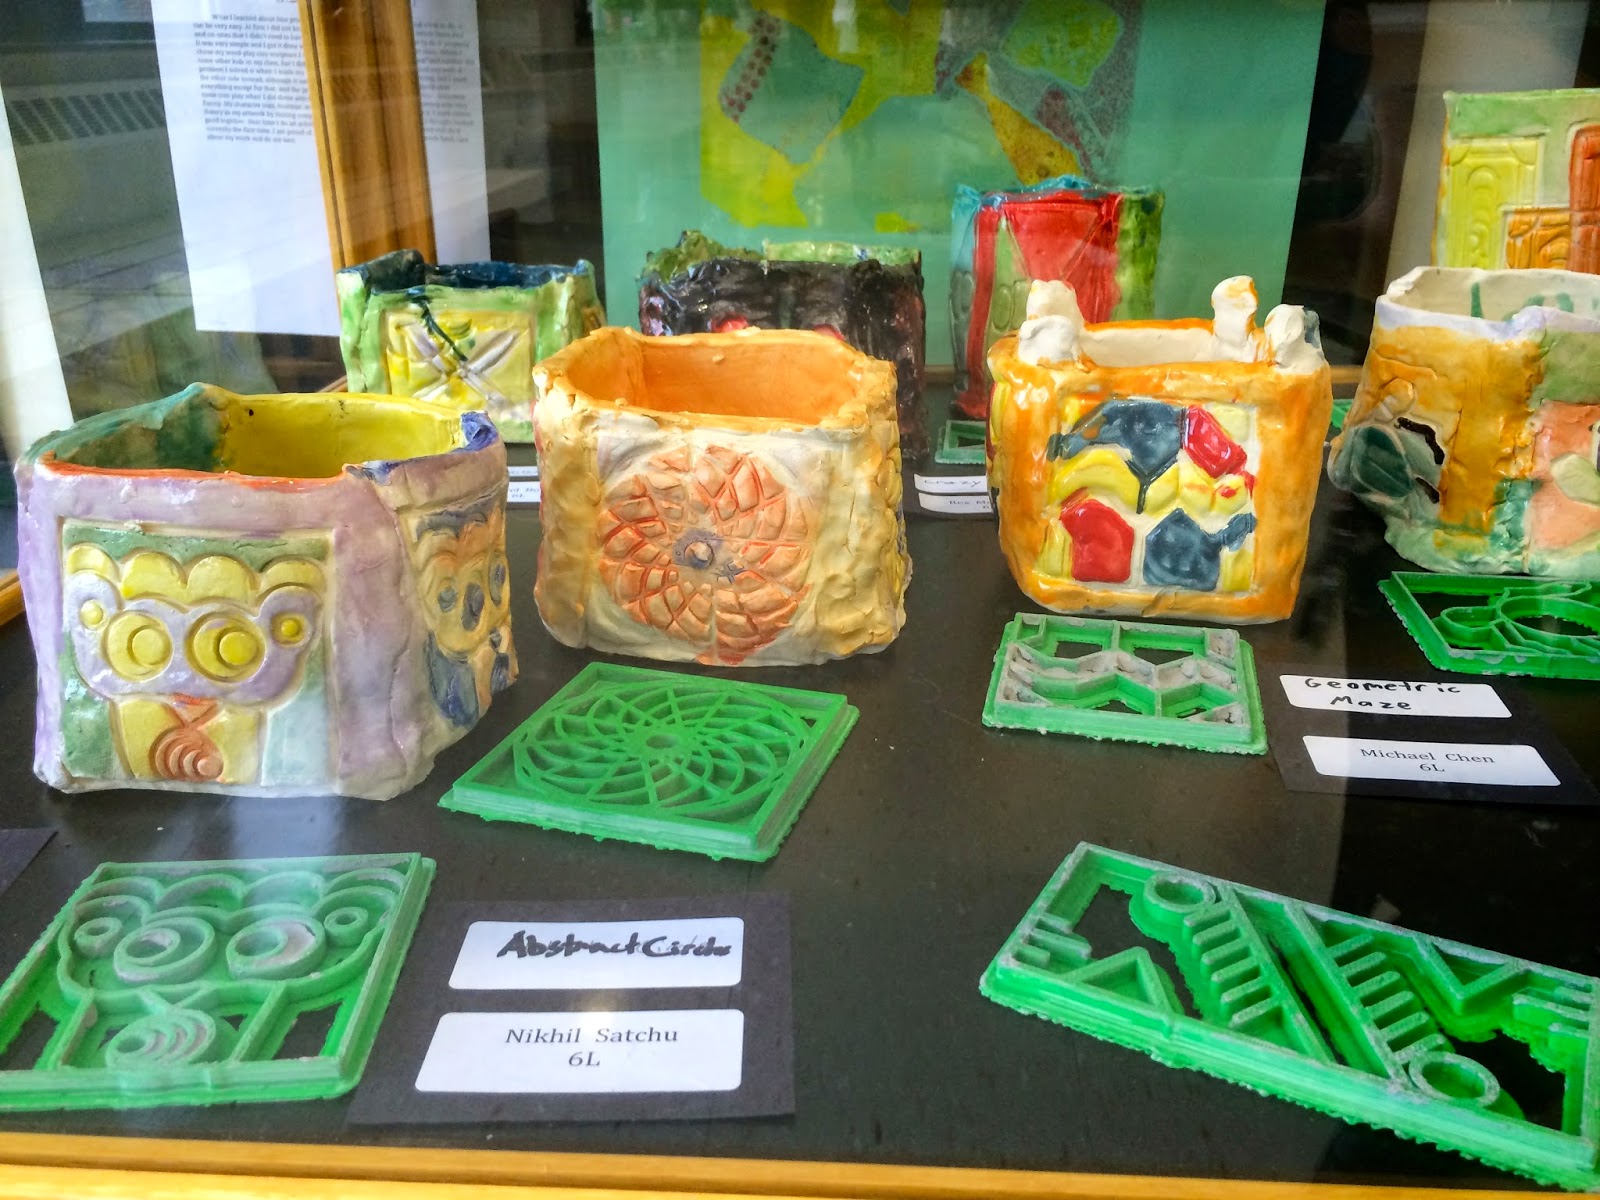
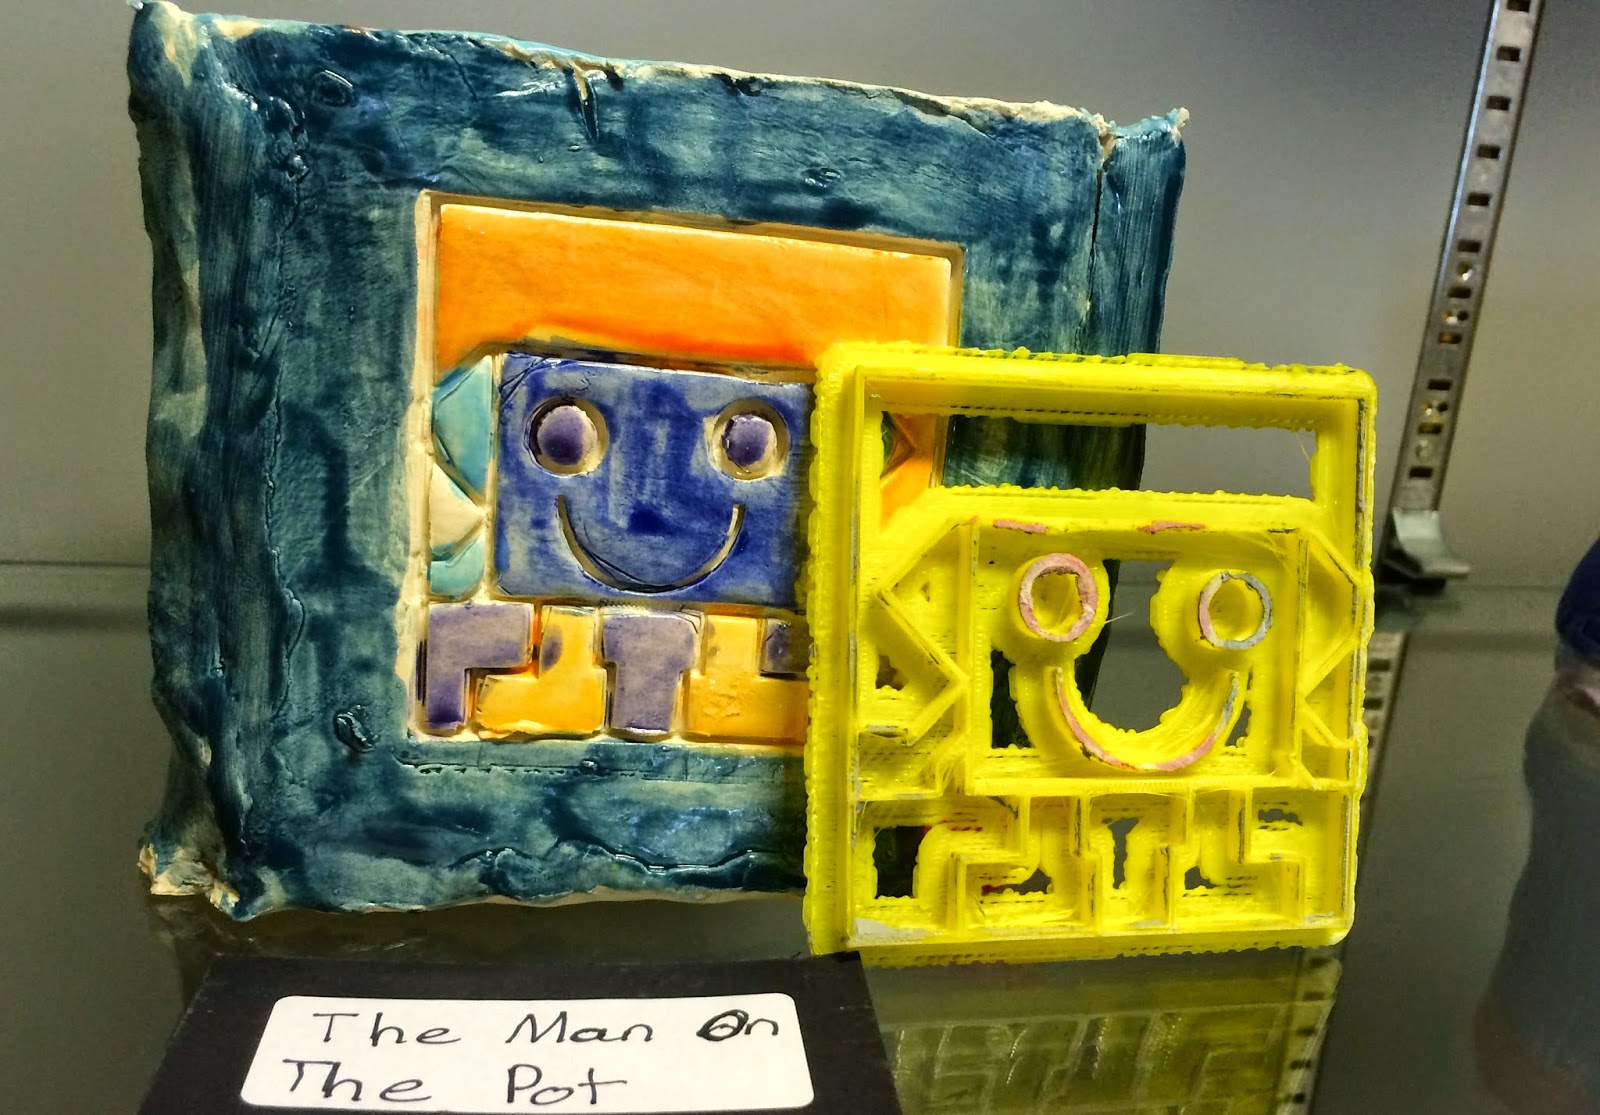
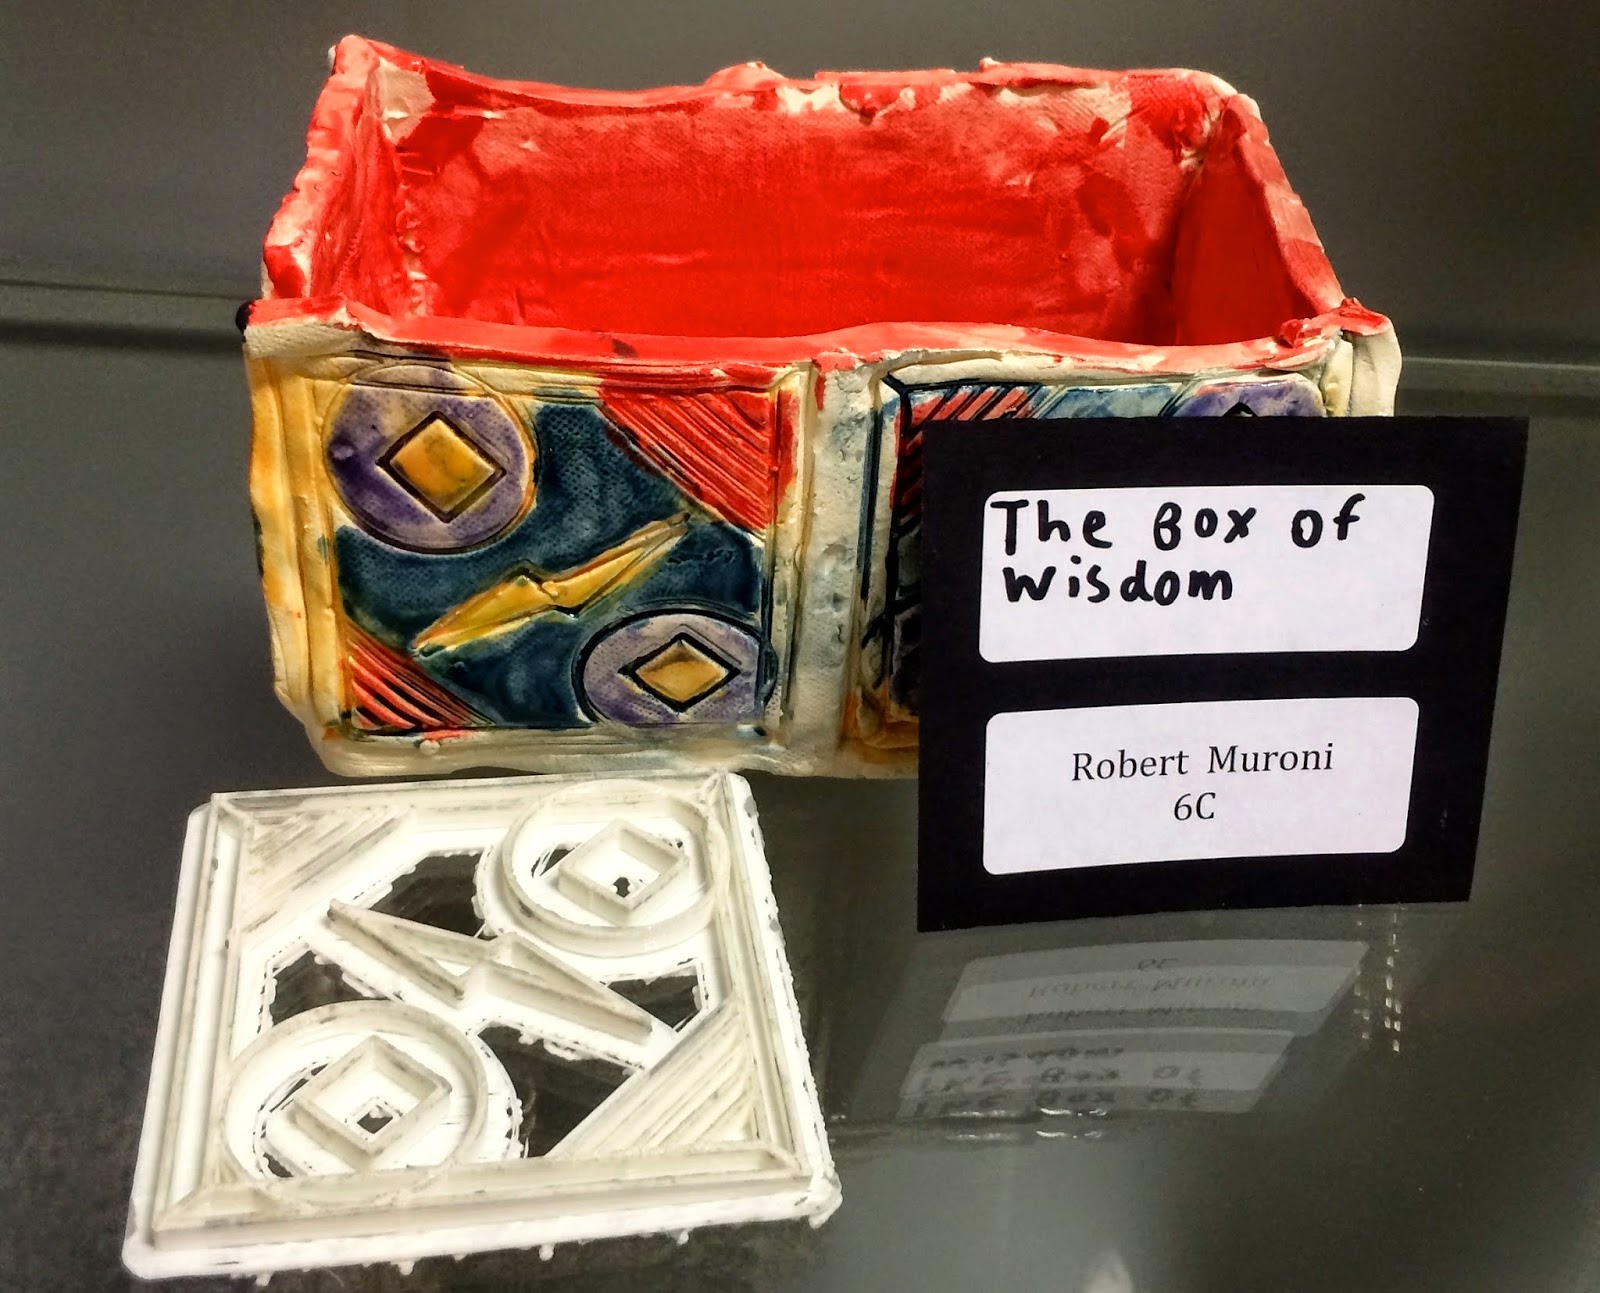
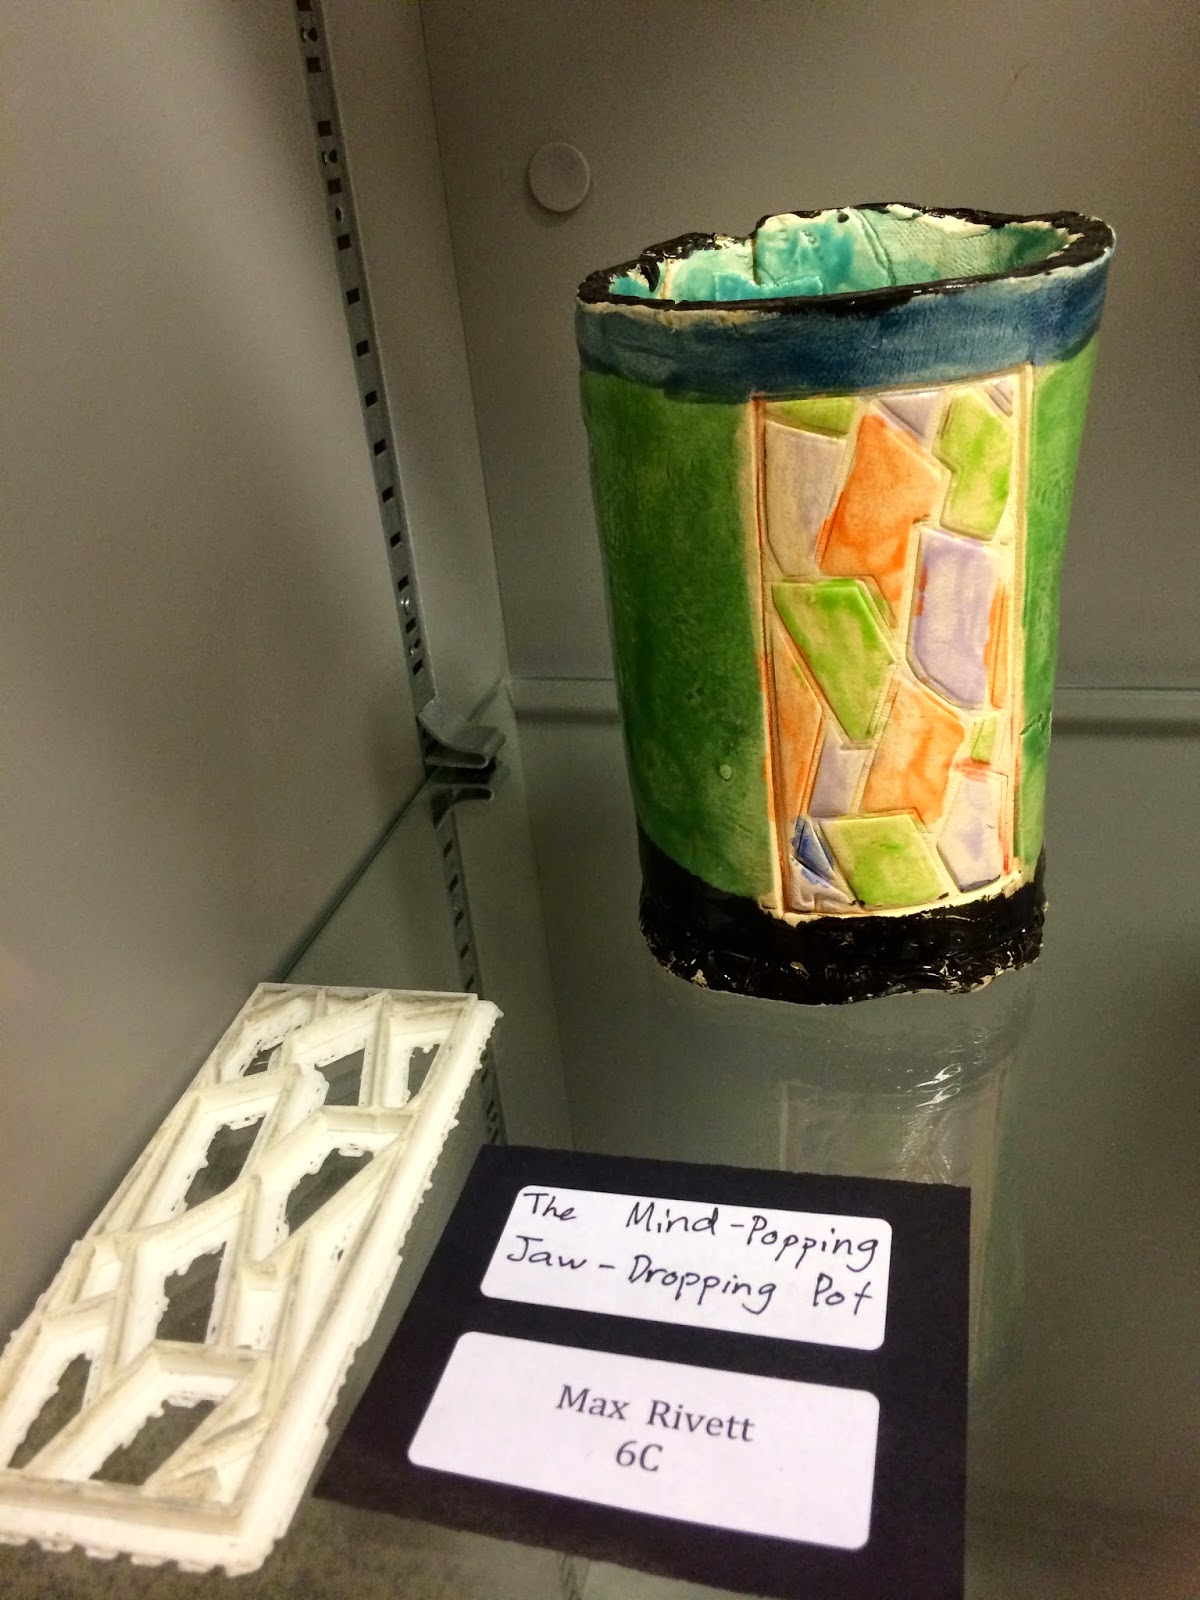
One of the best parts of this venture was that the boys were using the 3D design and print process to create a tool to use to enhance their art. The plastic stamp was NOT the final product, but a necessary step in the artistic process.
The project began with each class being assigned and researching different design styles - Native Canadian, natural, geometric or patterns. The boys drew several possible designs in their sketchbooks and provided feedback to one another.


Each student chose one design and used Turtle Art programming software to recreate a similar design on their computer. Their "turtle" had to be instructed how to move to trace out their design. The boys used simple programming commands such as using an x-y coordinate system, "pen down", "move forward 25 steps", "turn 45 degrees" as well as more advanced programming structures including loops to recreate their design. Adjustments and modifications were made at this time in order to make the design manageable in the digital environment.
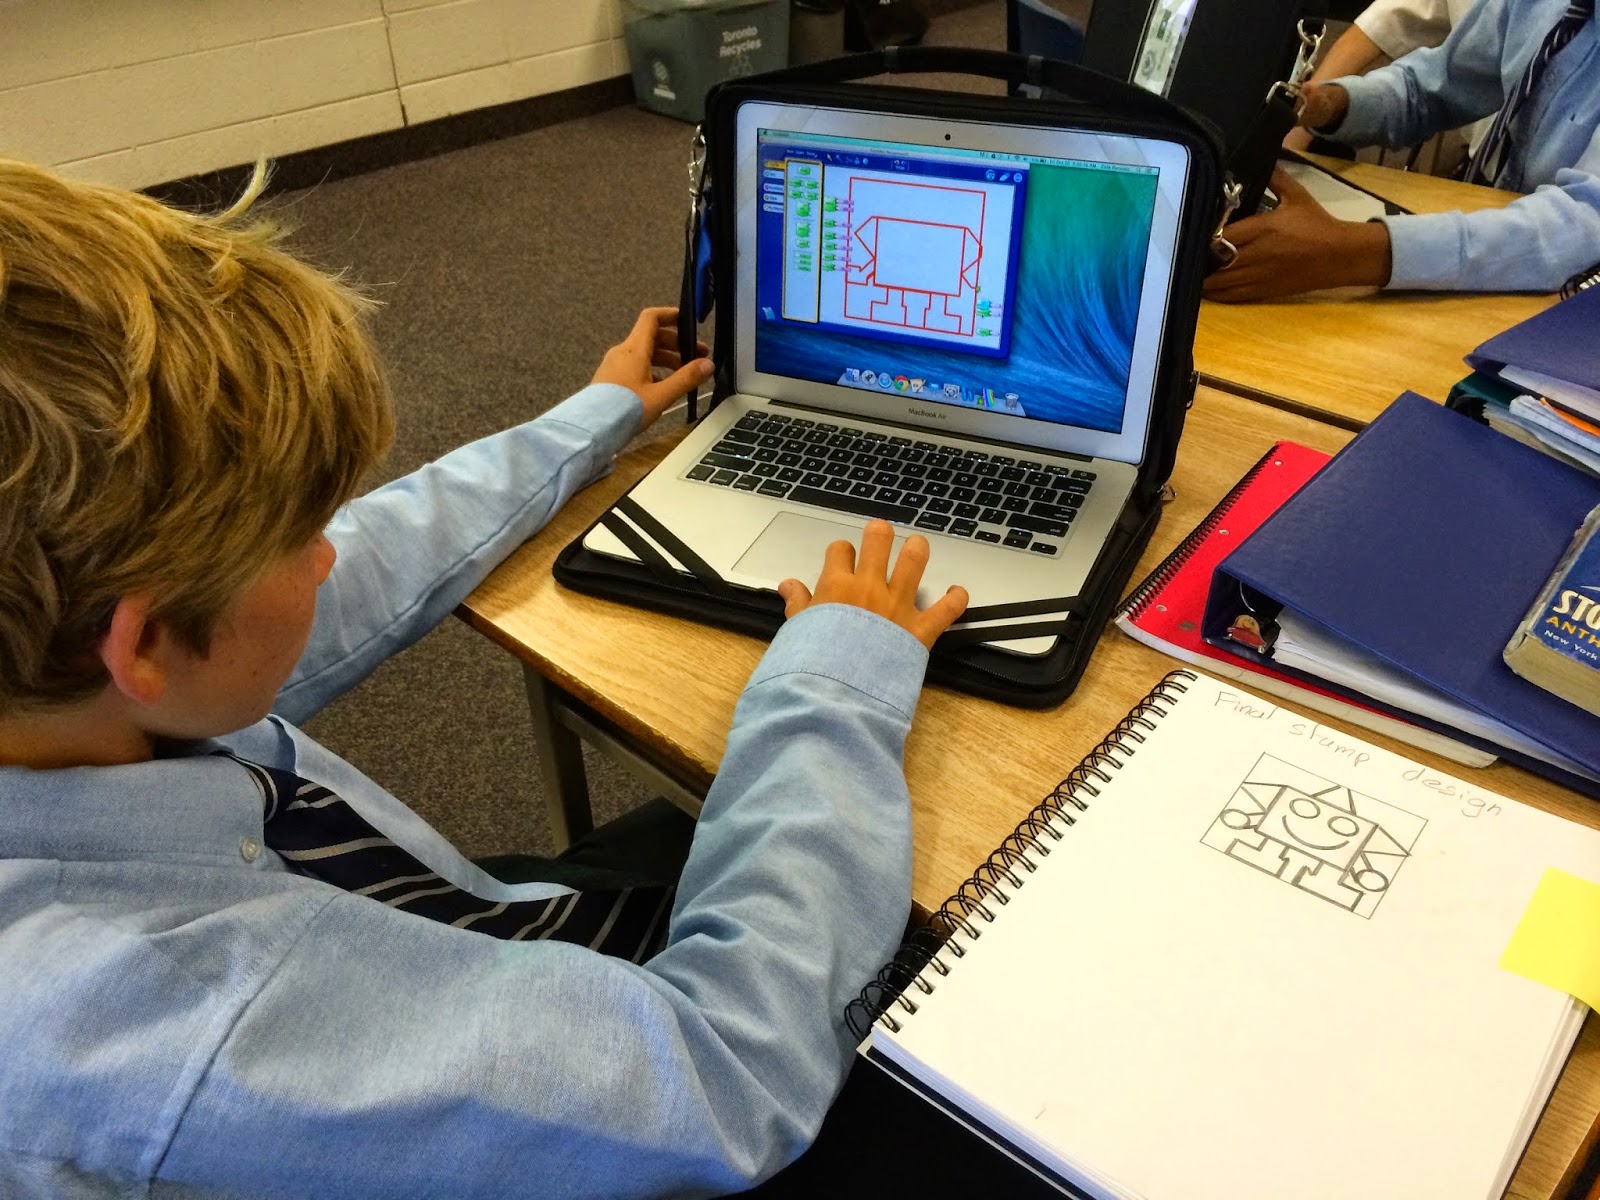
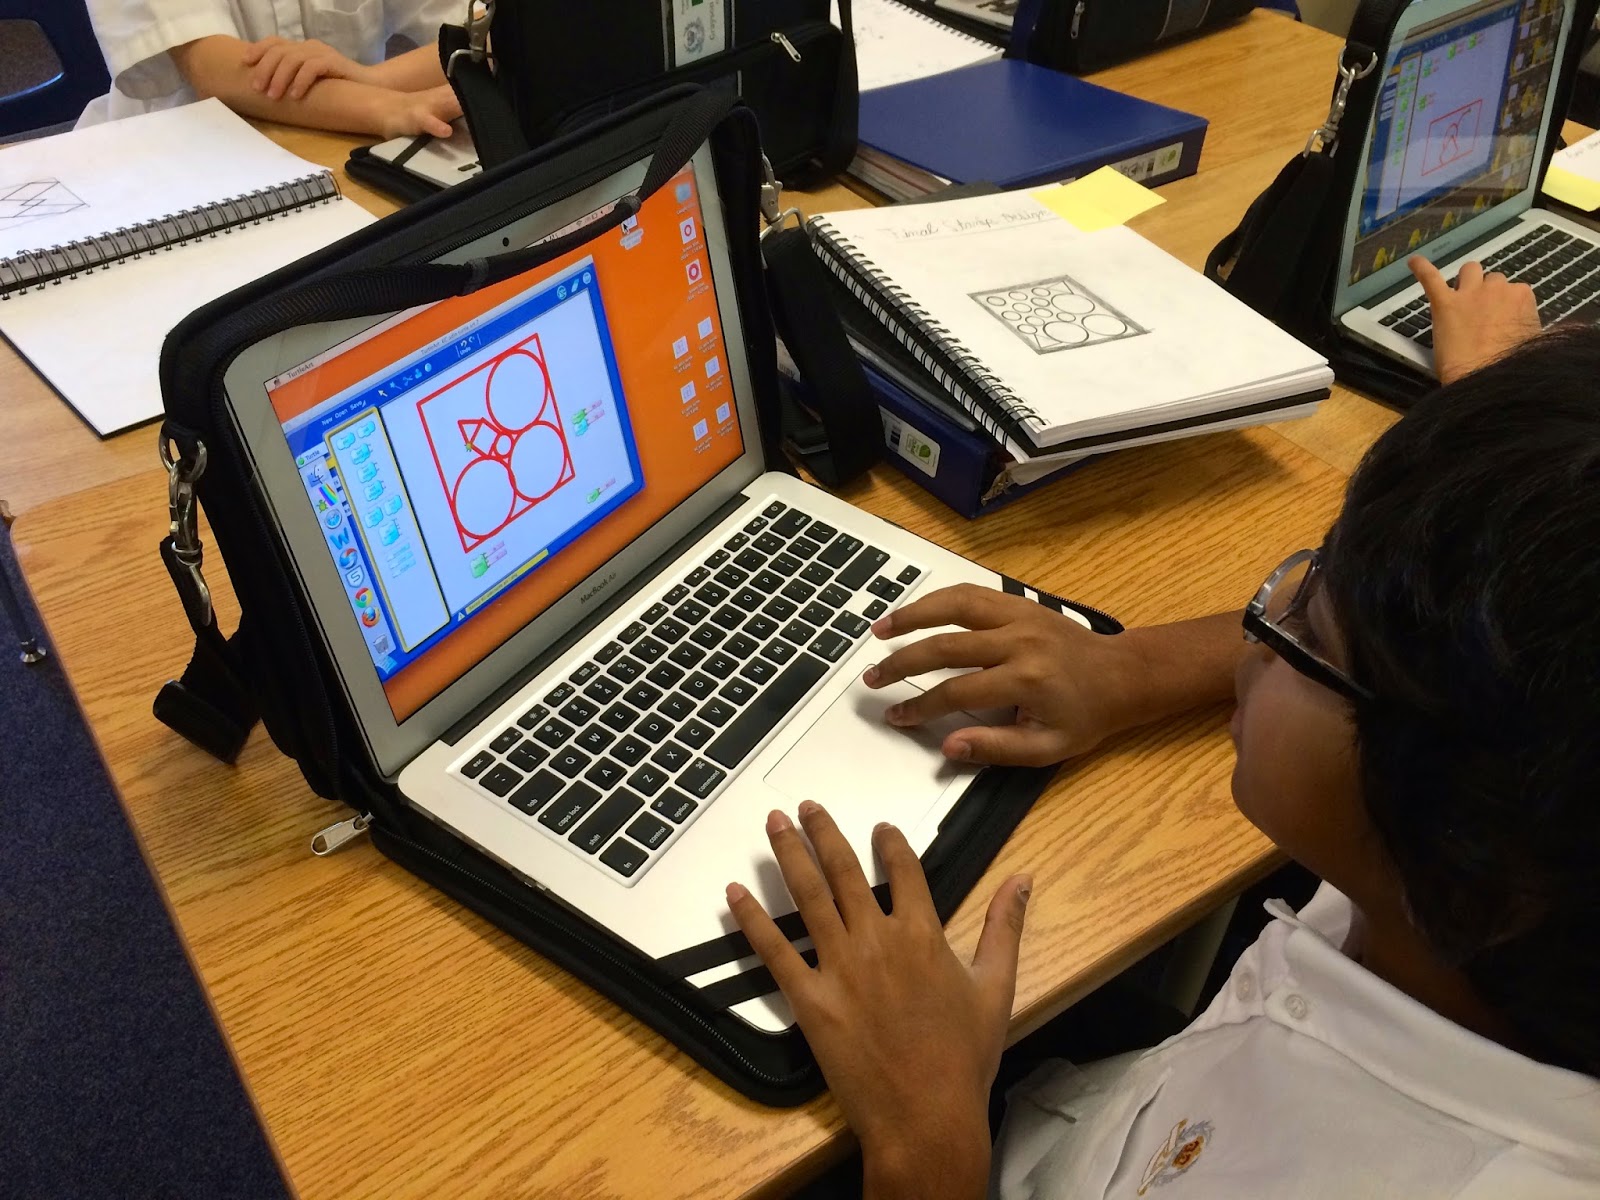
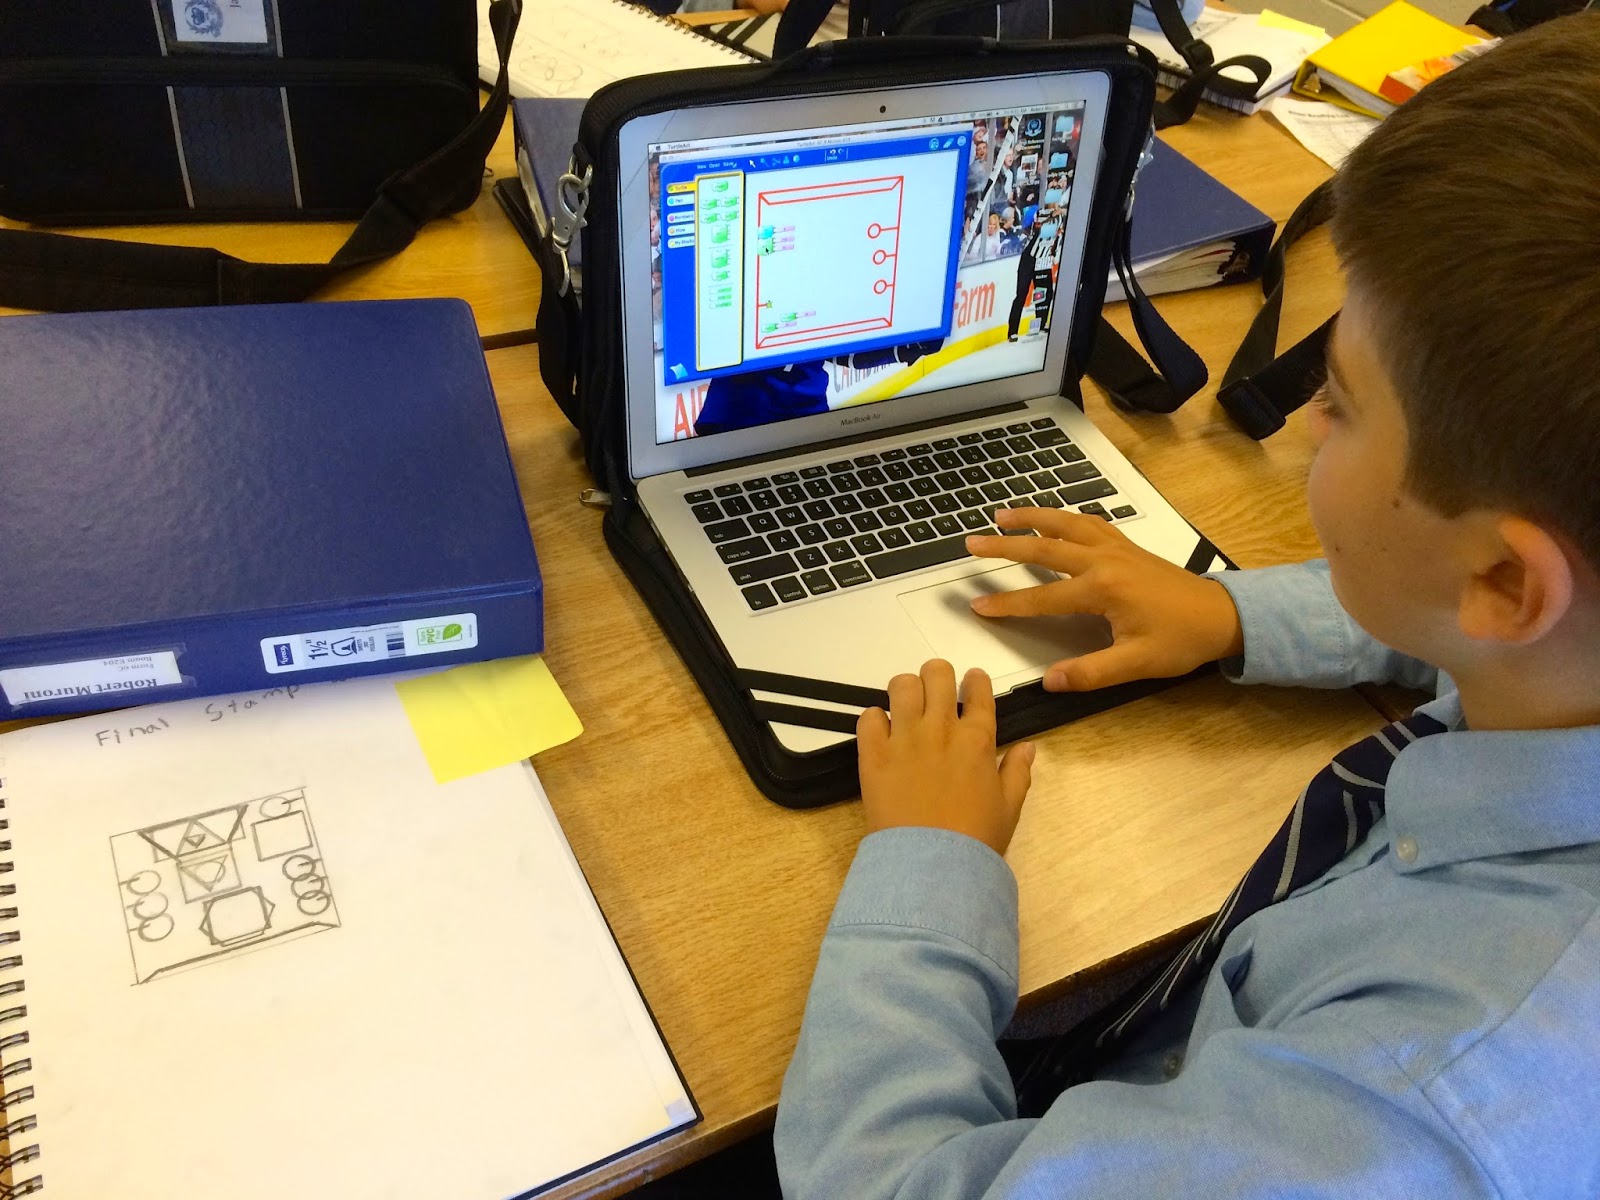
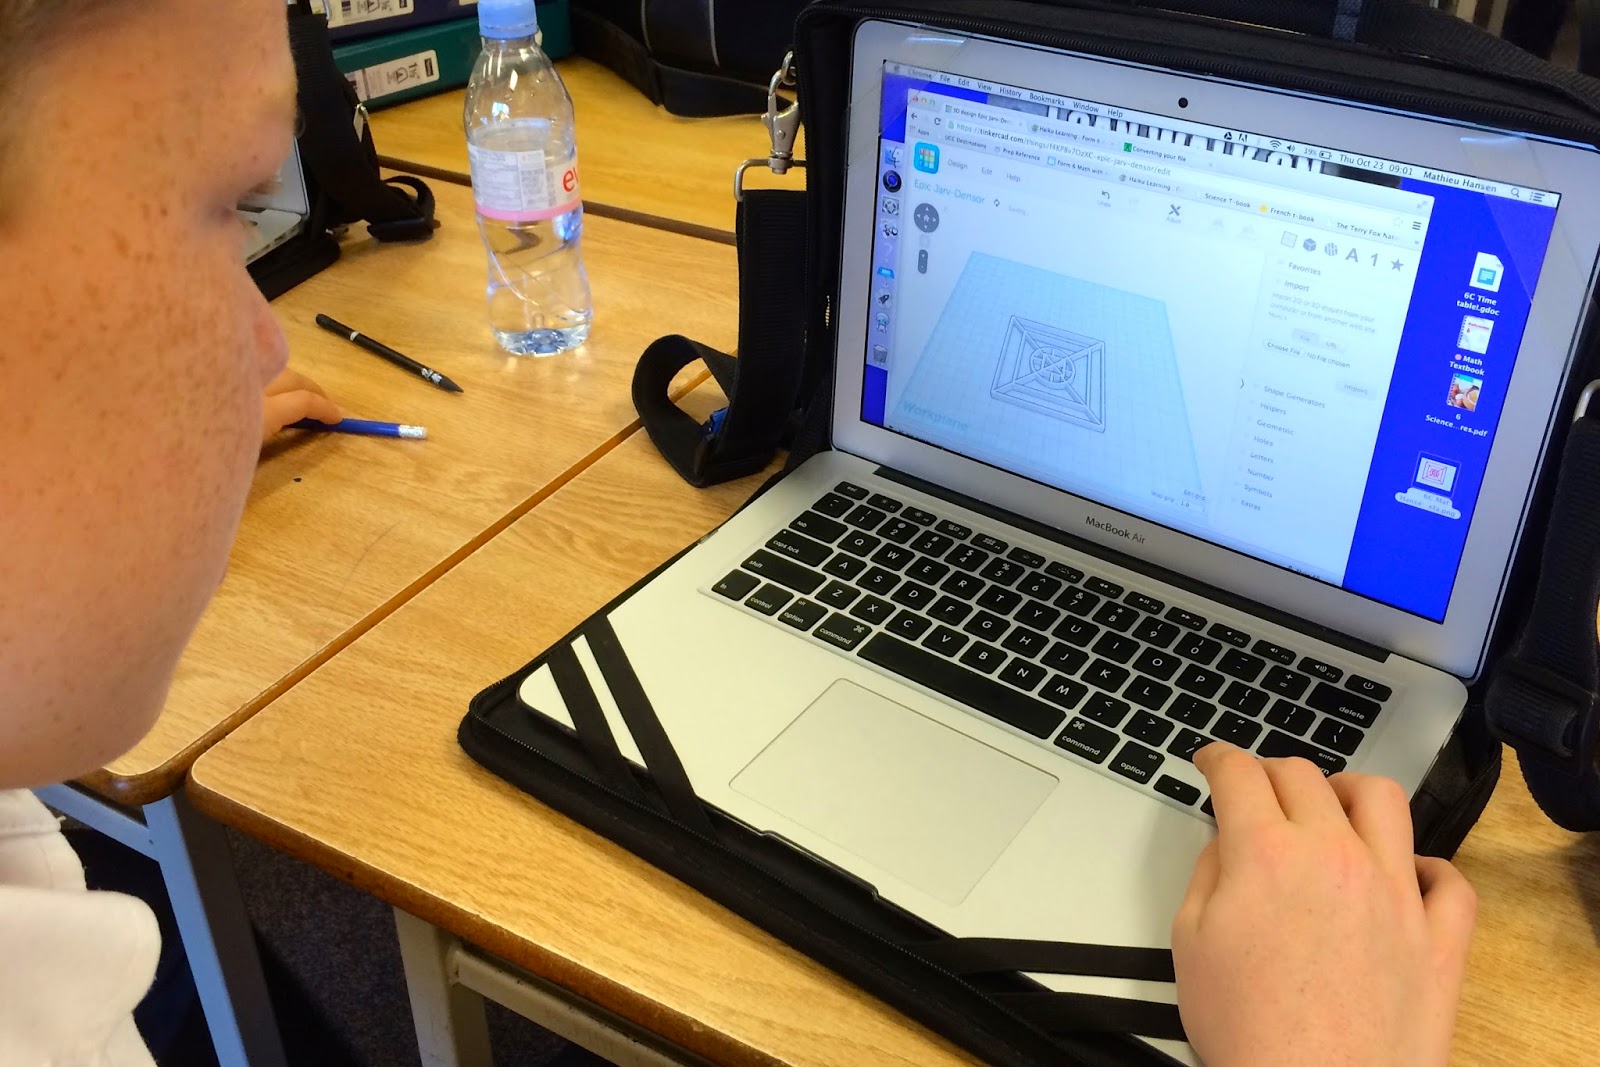
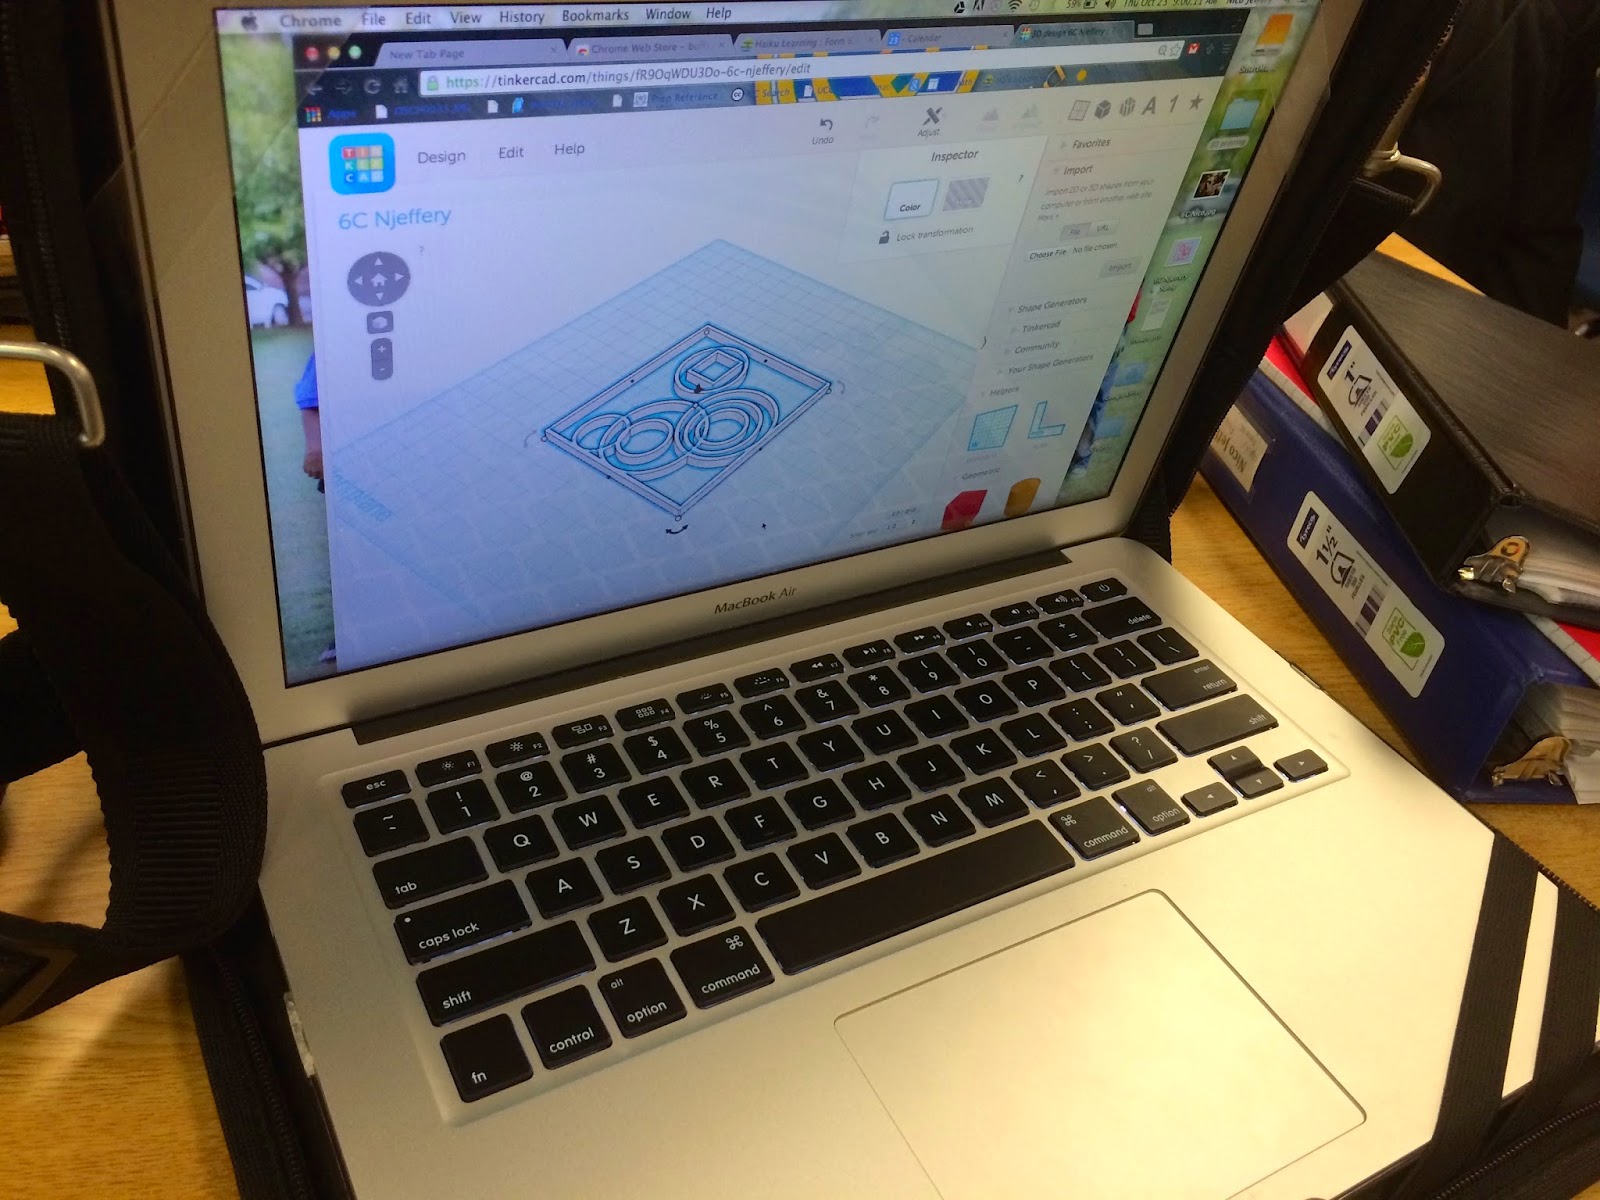
Once the boys were pleased with their Turtle Art image, they exported the file and imported it into the 3D design software, Tinkercad. With Tinkercad, the students were able to add height to their originally flat drawing. They adjusted the length, width and height of their stamp to meet the set specifications.
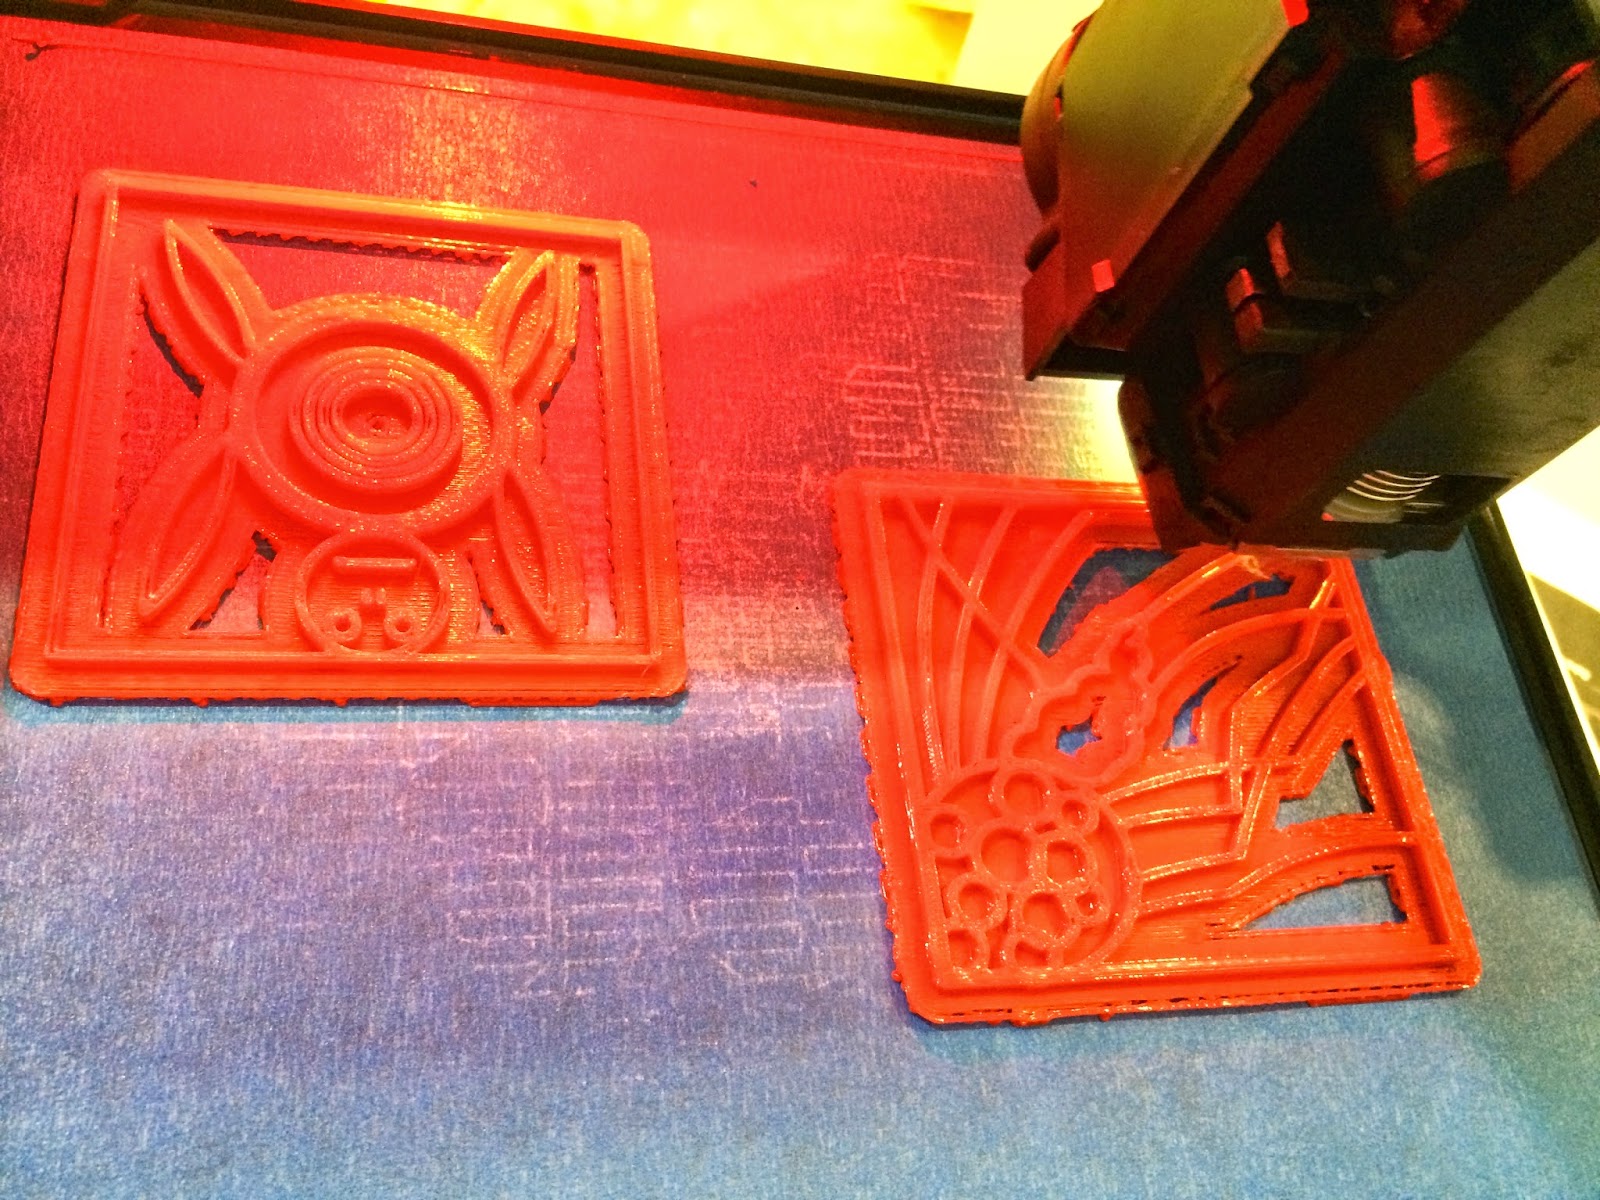
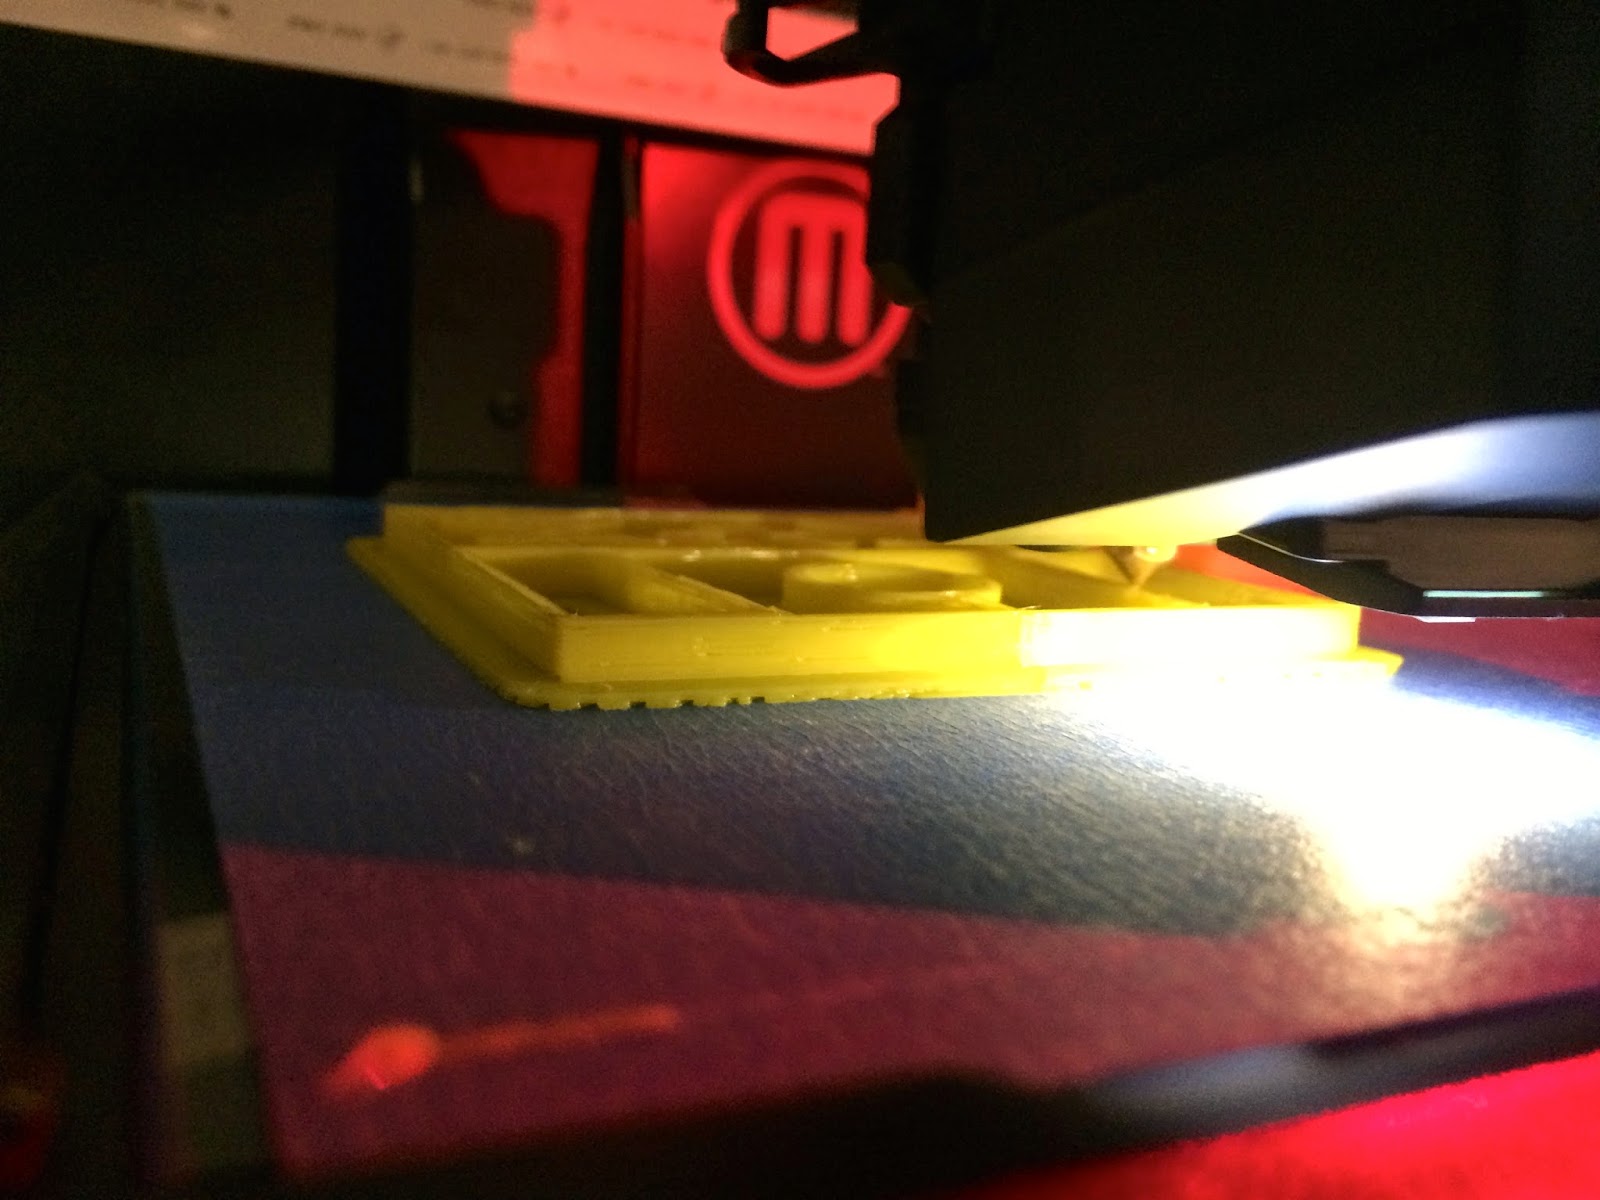
After exporting their 3-dimensional design, we loaded it onto one of the school's 3 MakerBot printers. Over several weeks, all 88 stamps were printed and ready for use in art class. Each class's stamps were printed in a different colour, trying to keep the sets organized.
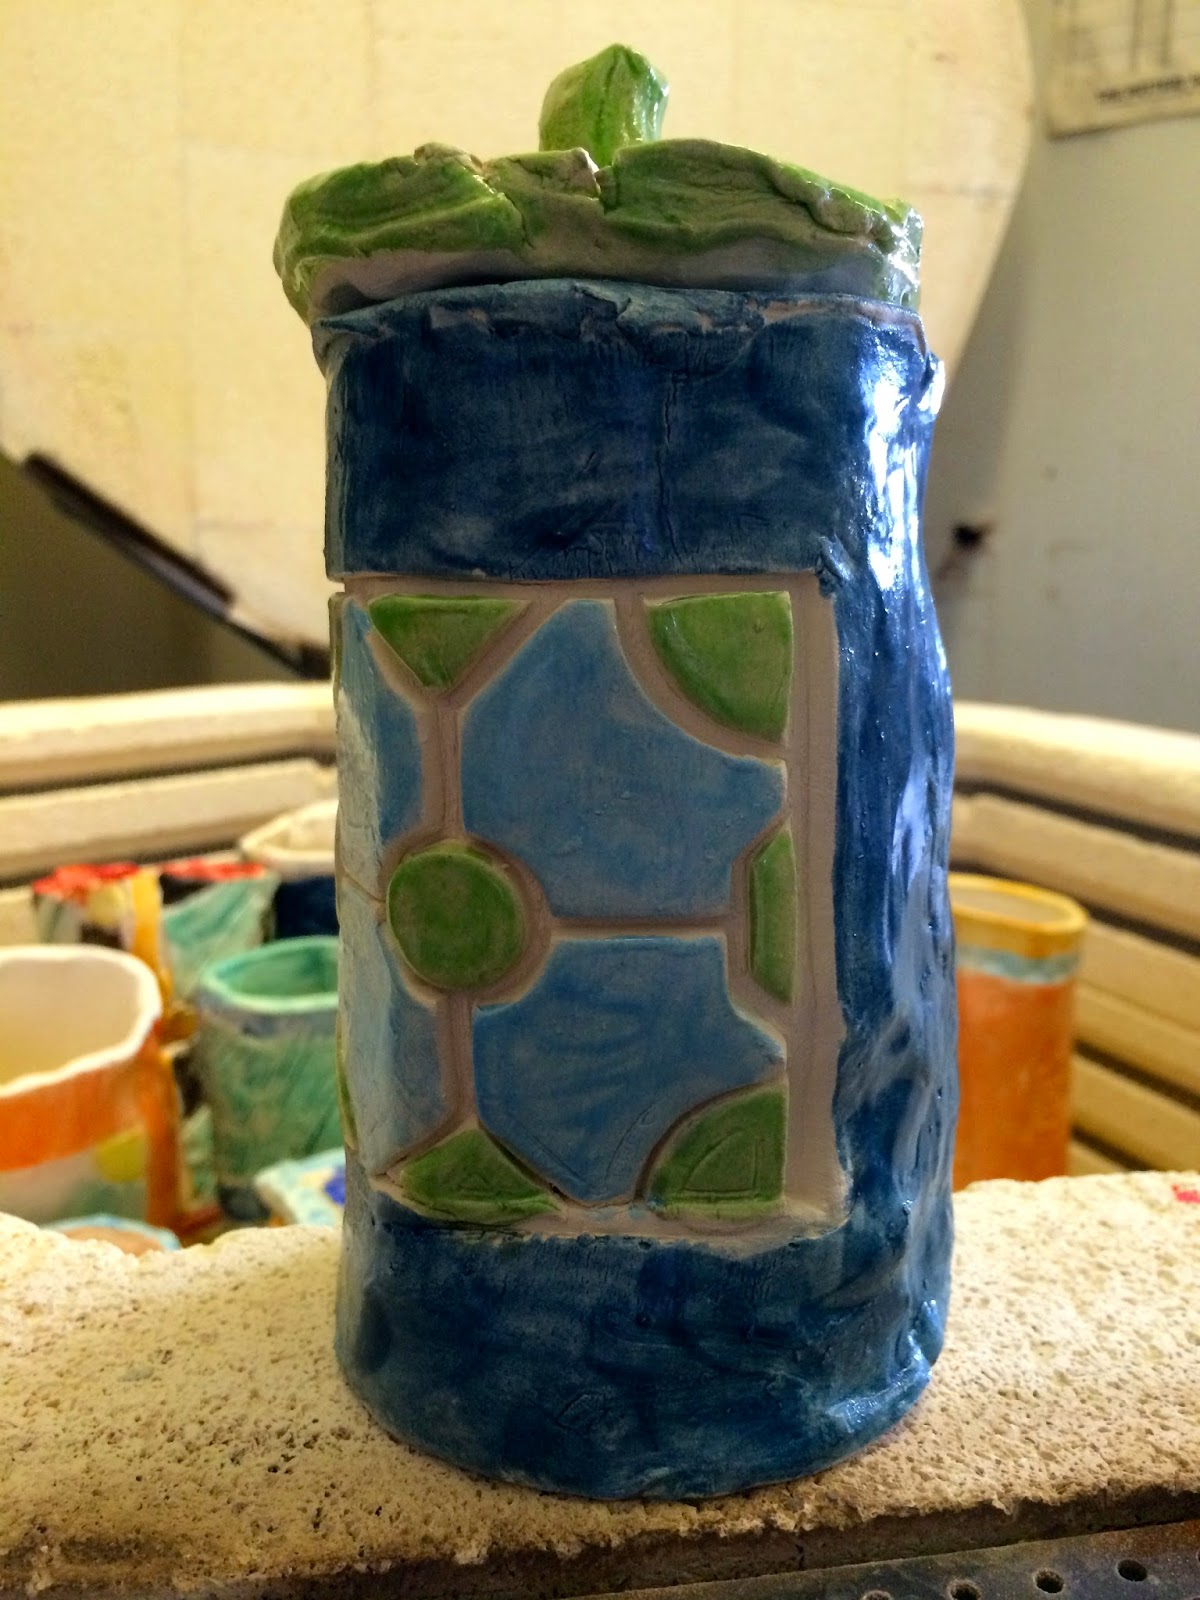
Before the boys could stamp their clay, they had to learn about how to roll, cut and arrange the parts of their containers. They learned to use 2-dimensional nets that would "fold" into their desired 3-dimensional box or cylinder. Some boys chose to add tops to their containers as well.
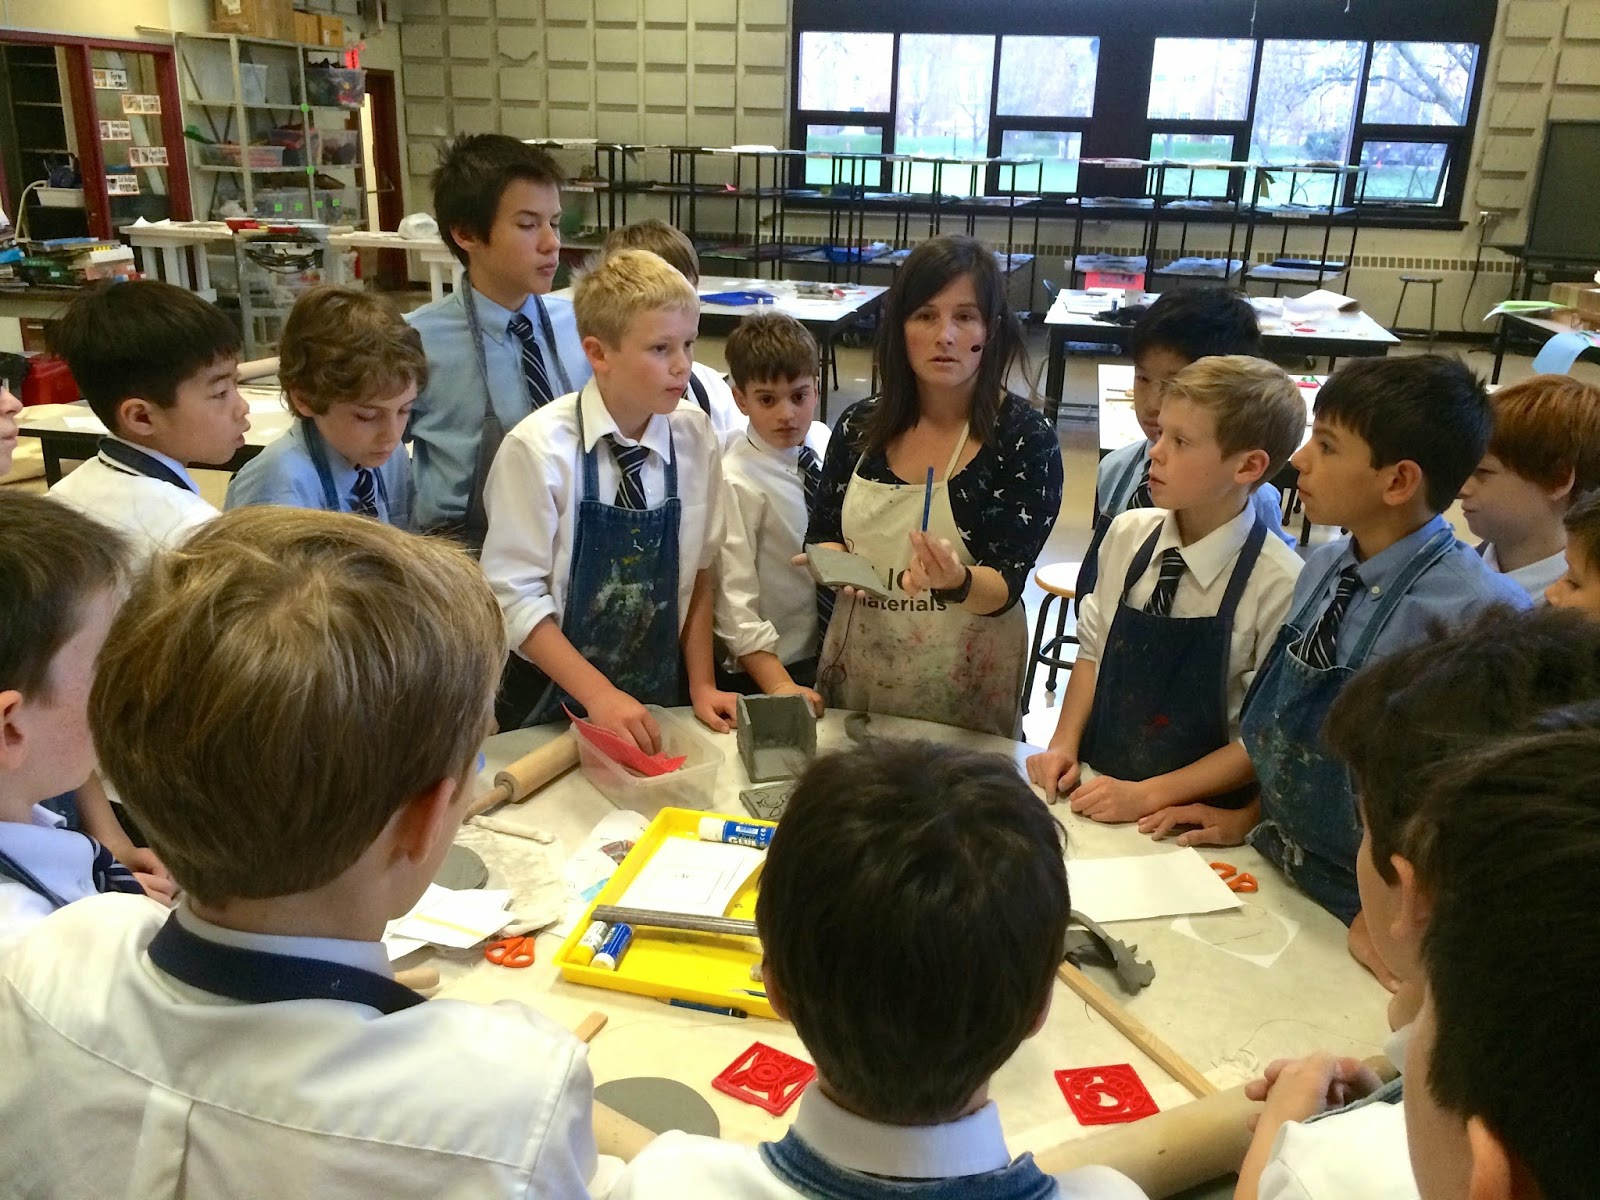
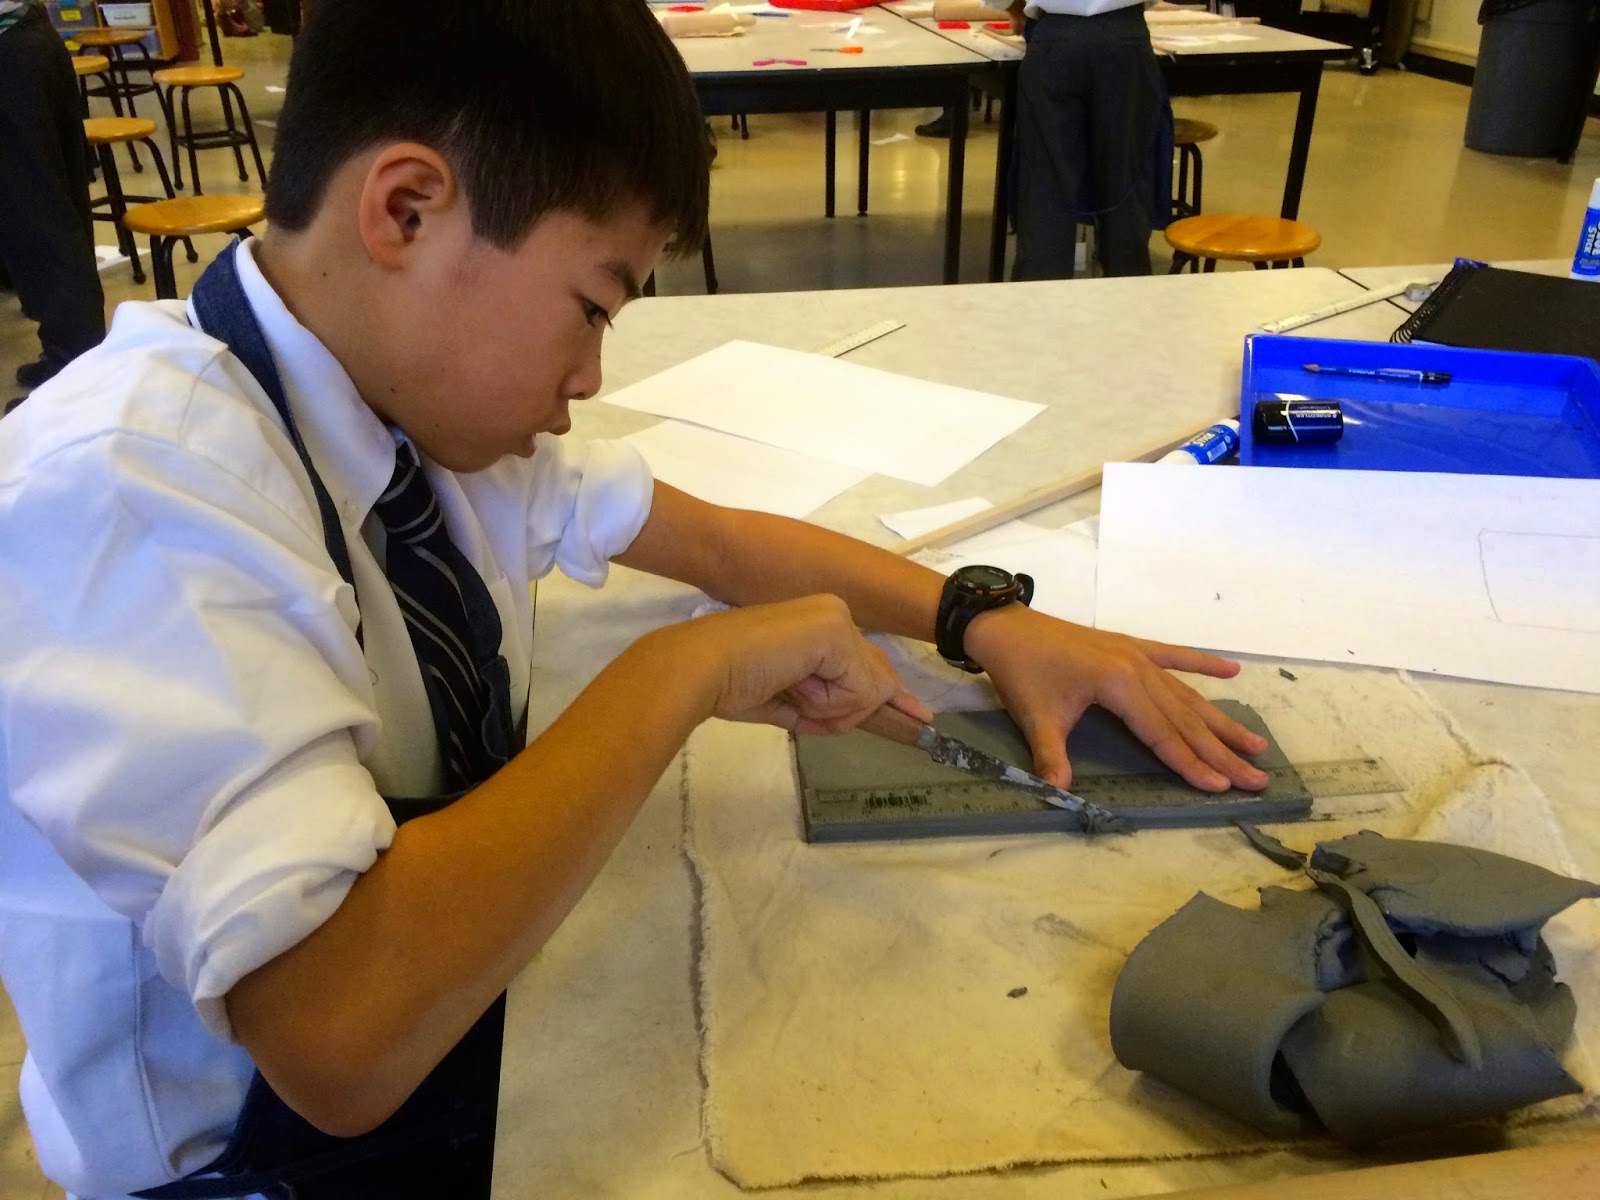
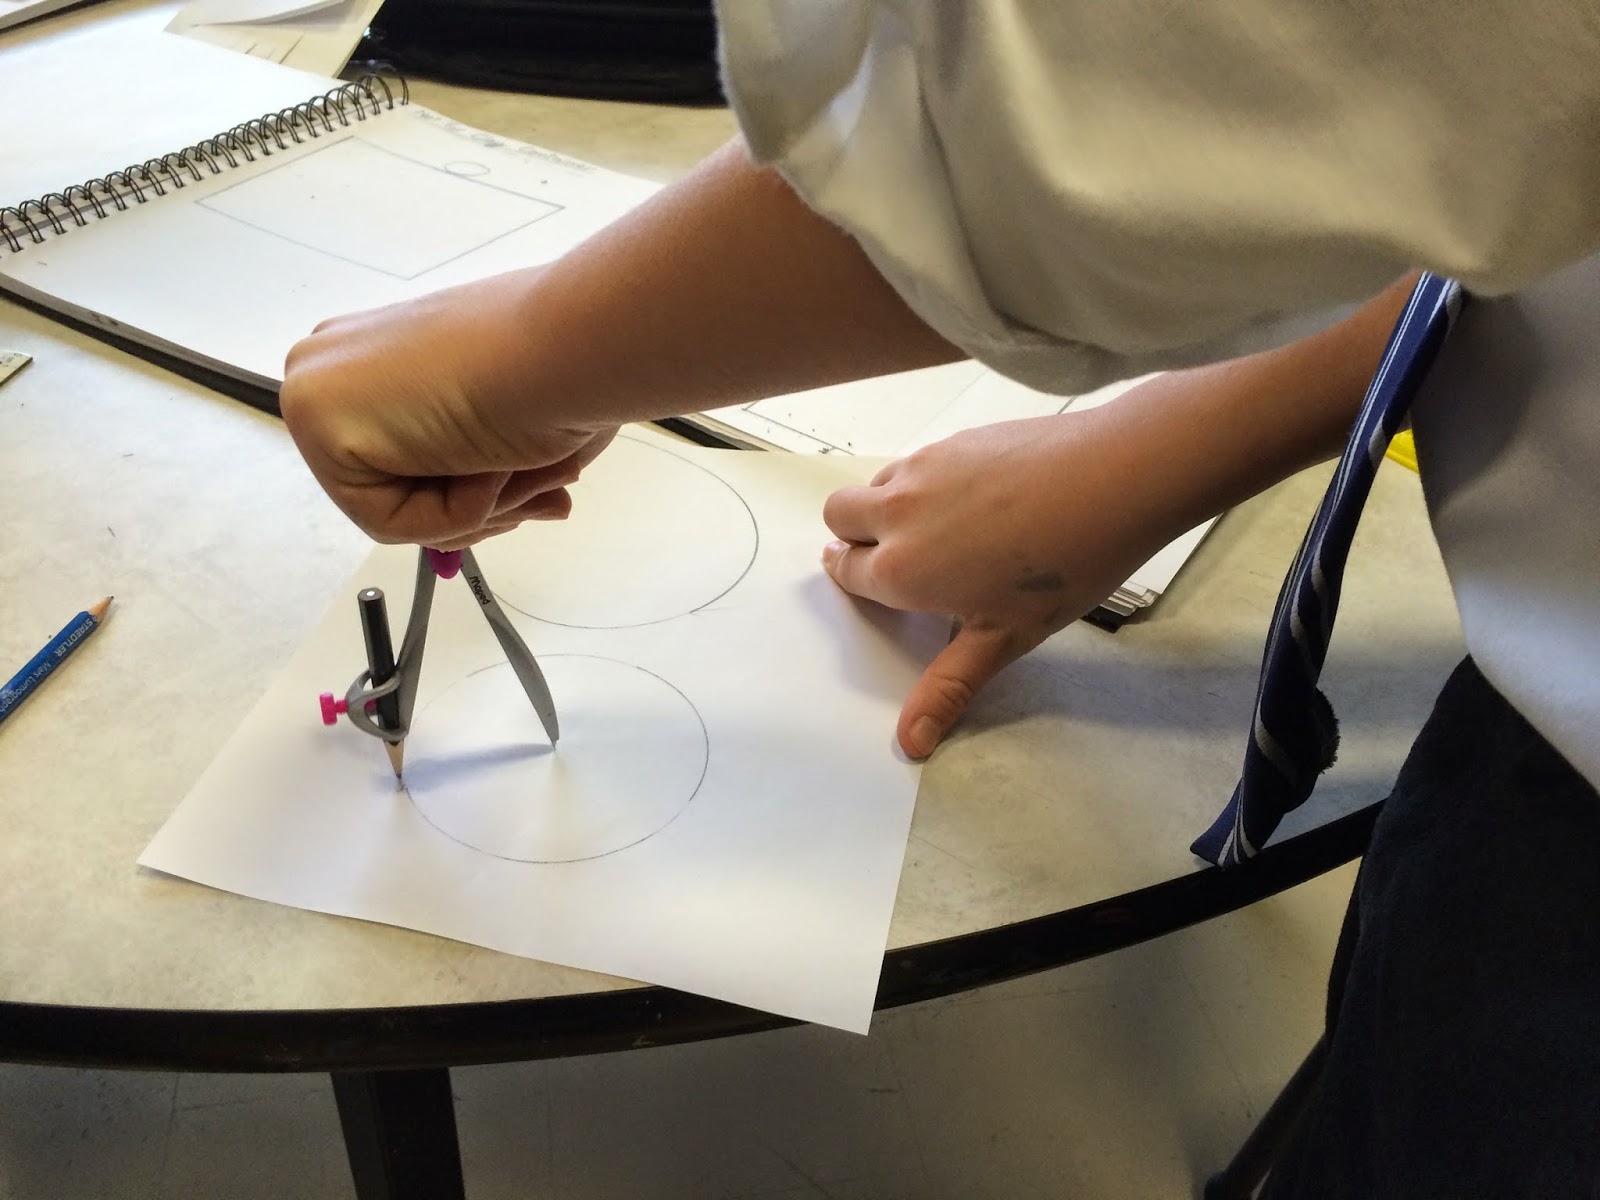
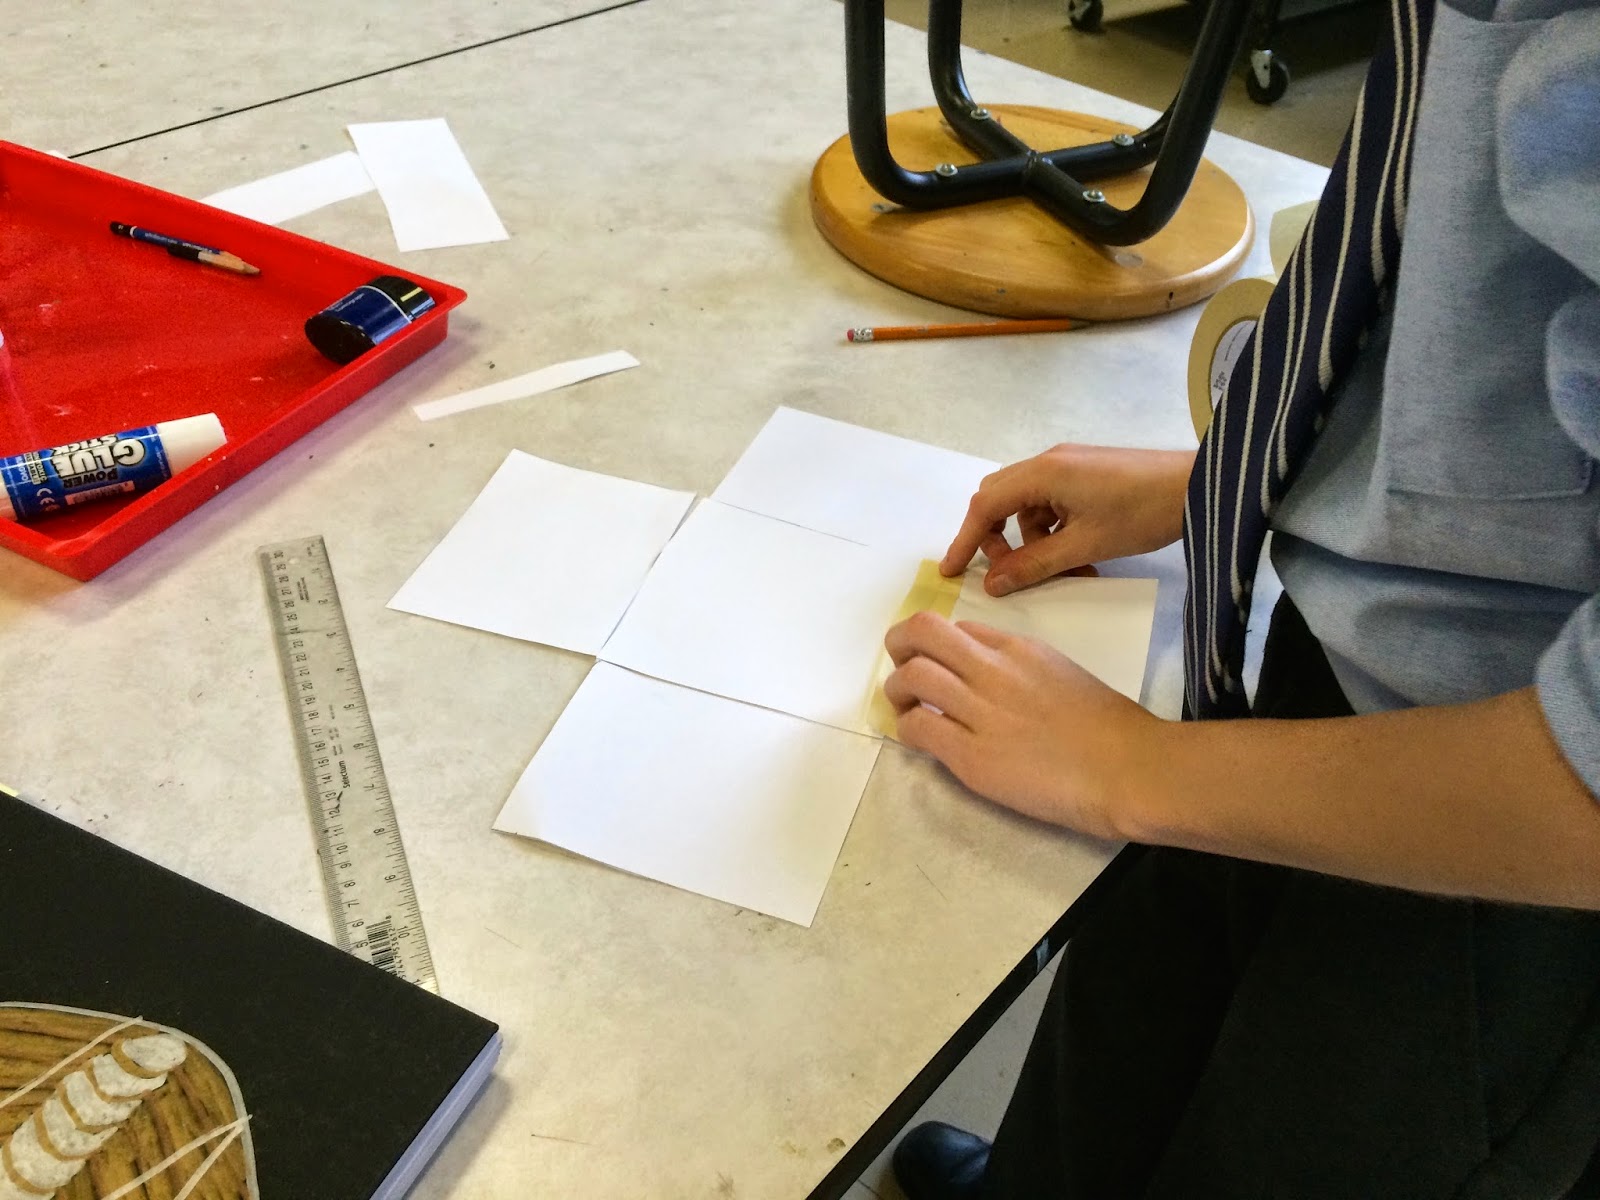
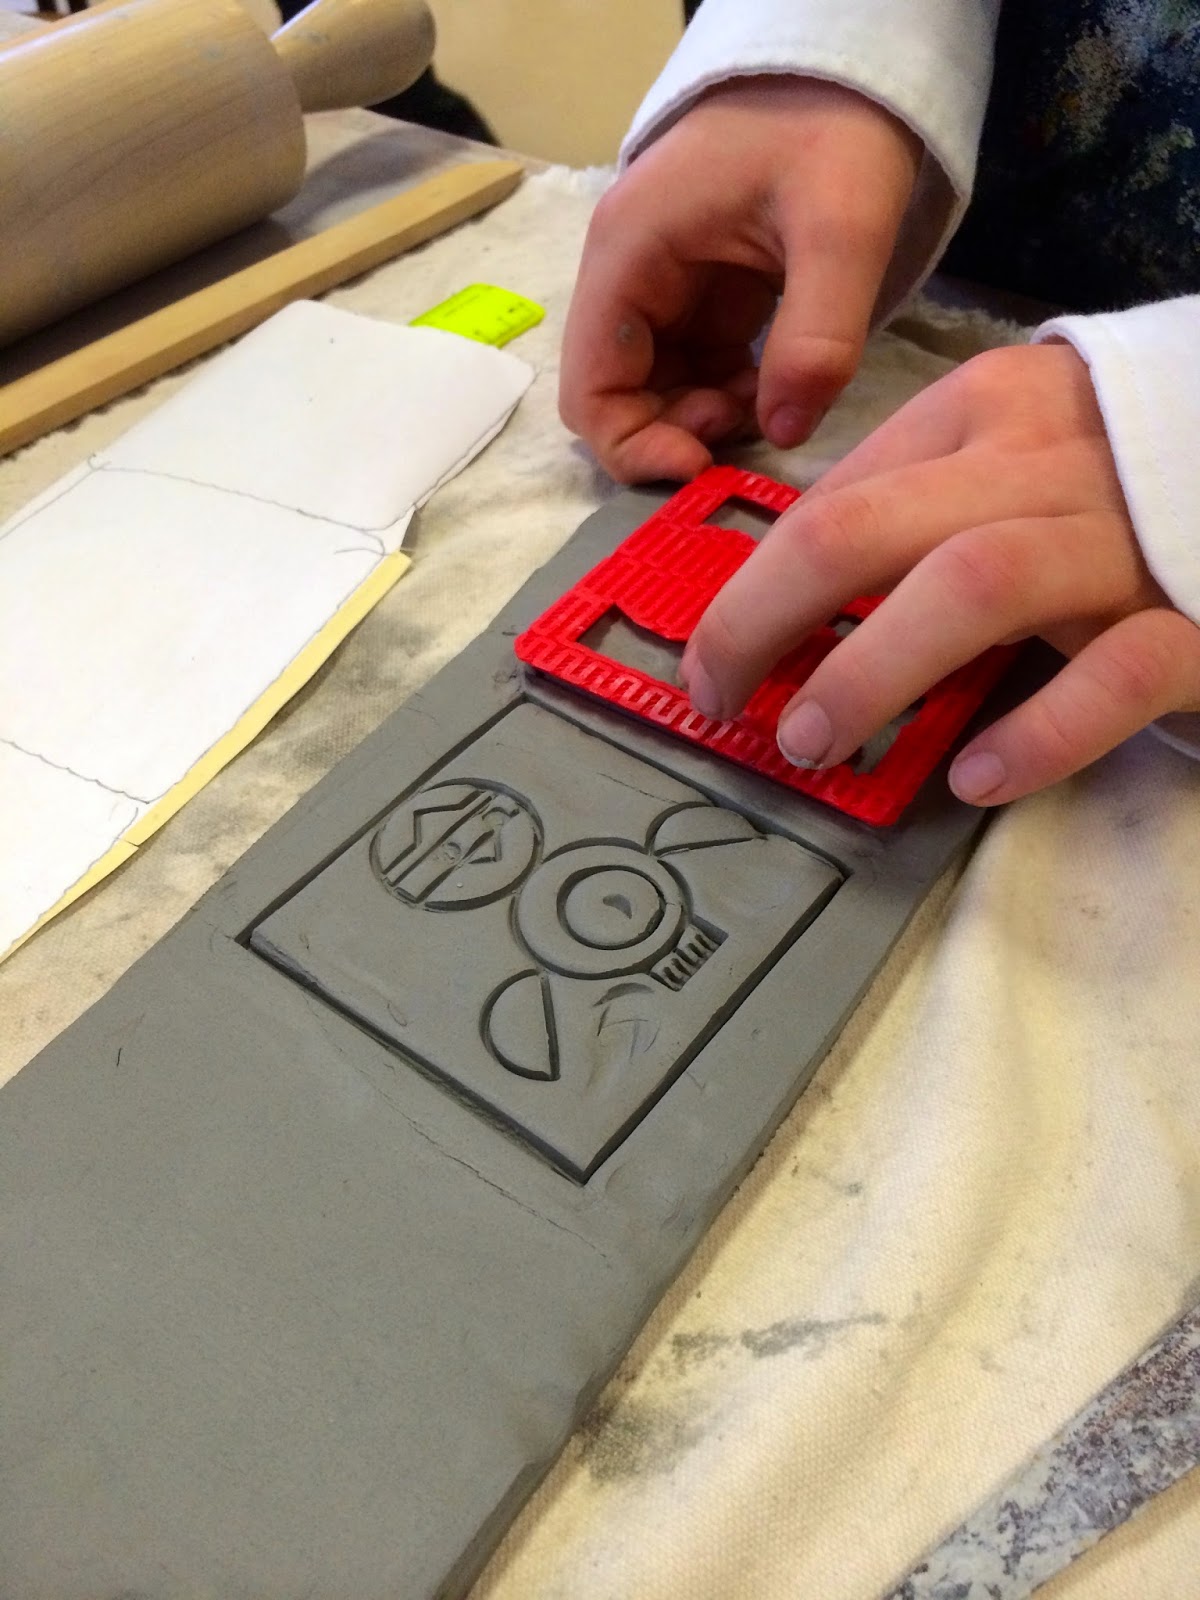
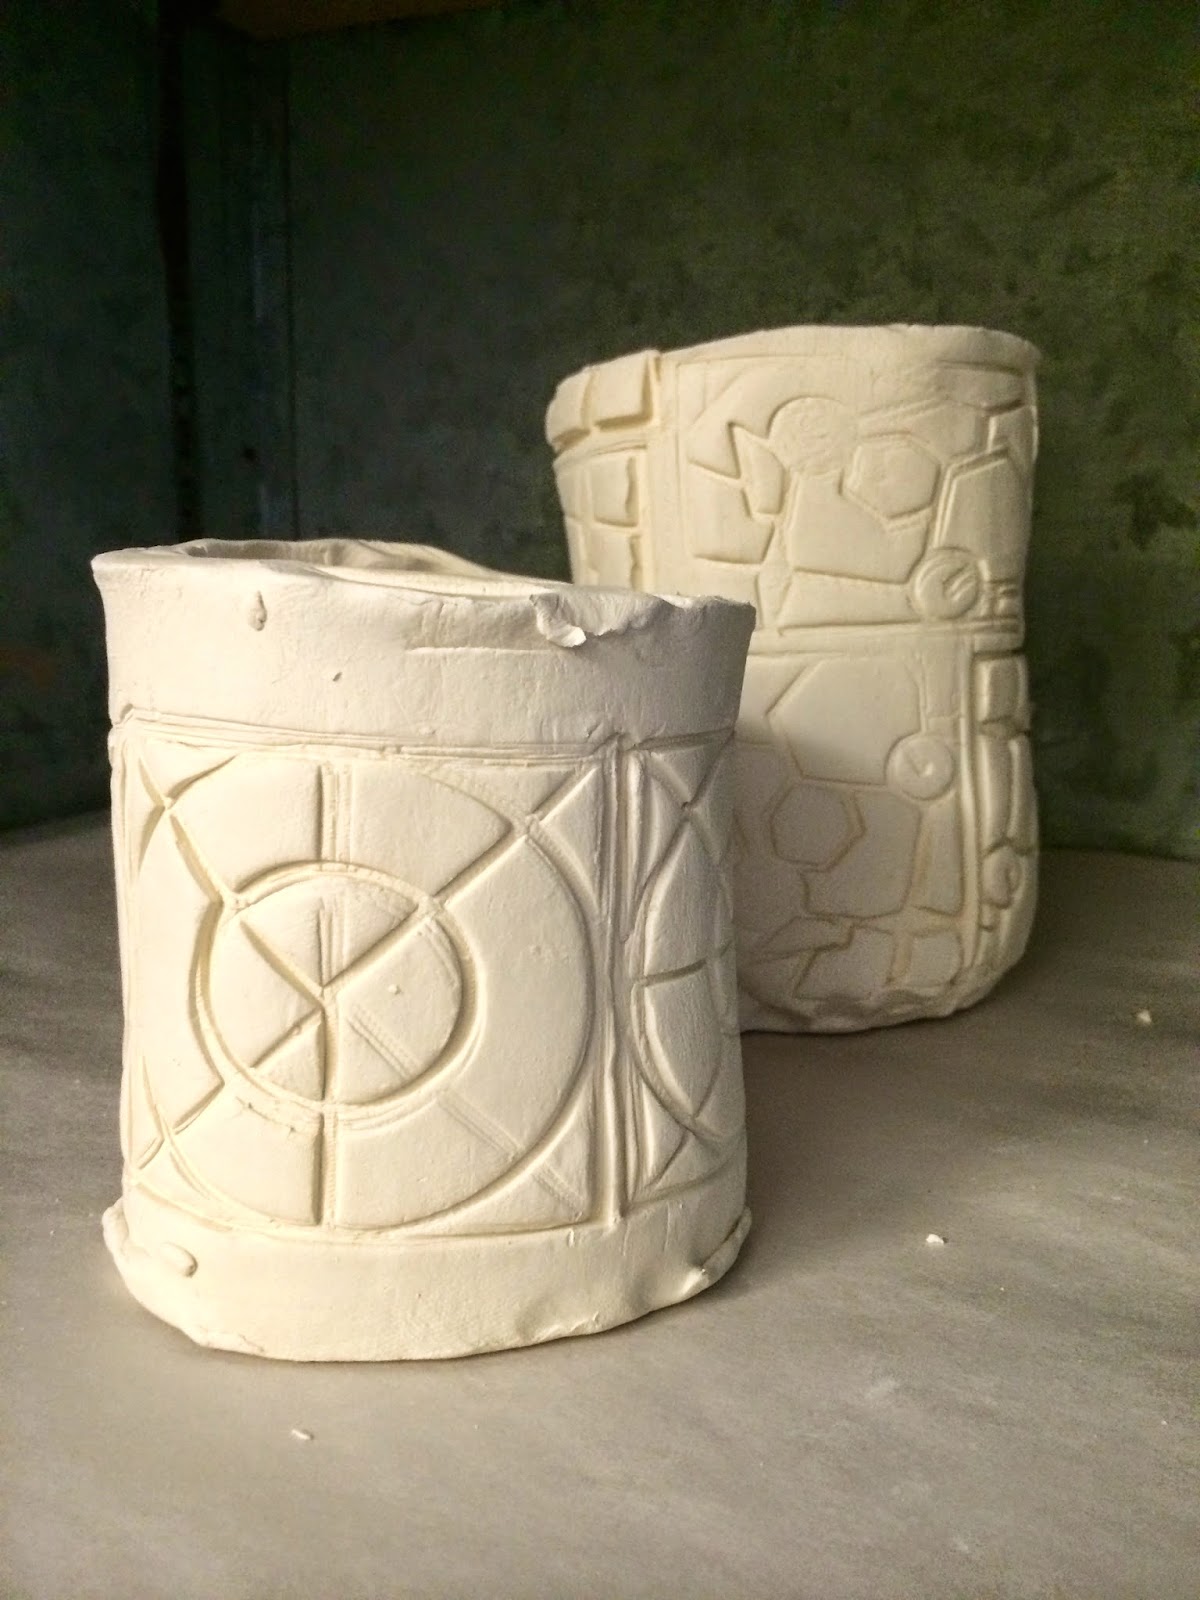
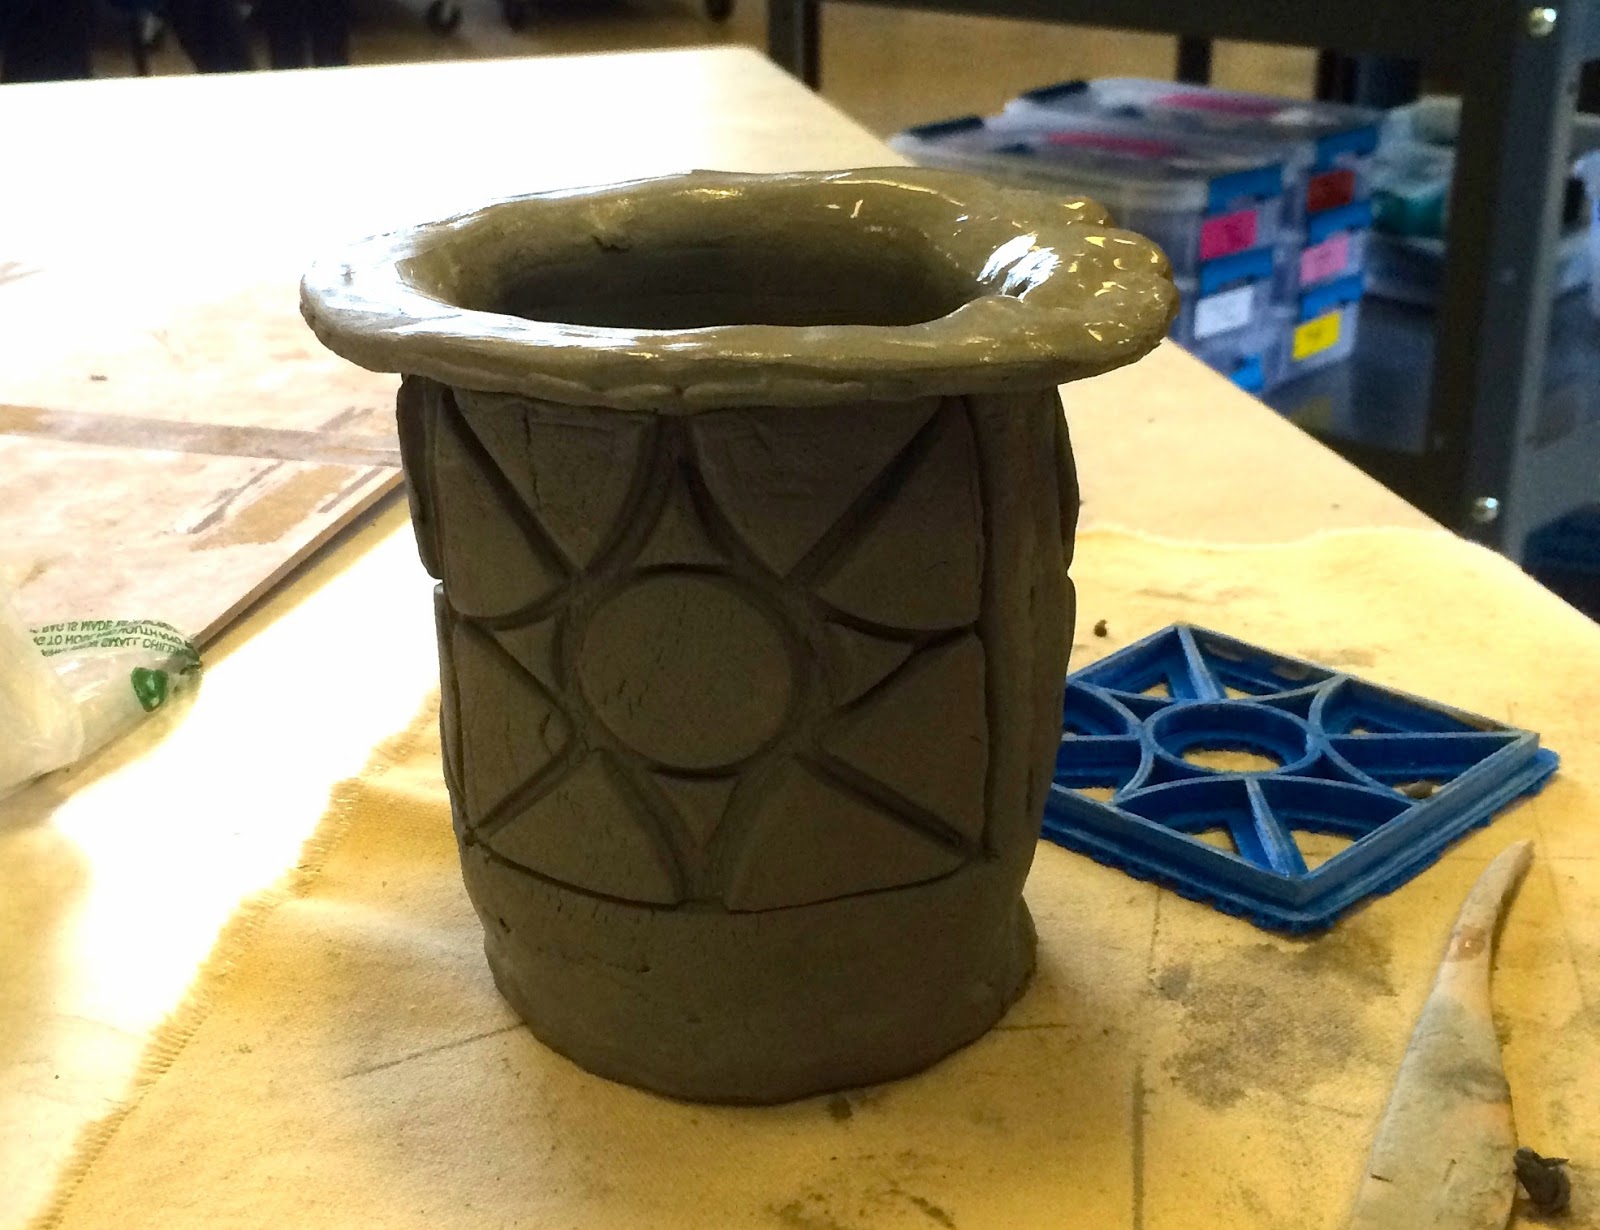
Once they were ready to put their containers together, their stamp came into play. Working carefully, each boy used their own designed stamp to add their design to the clay.
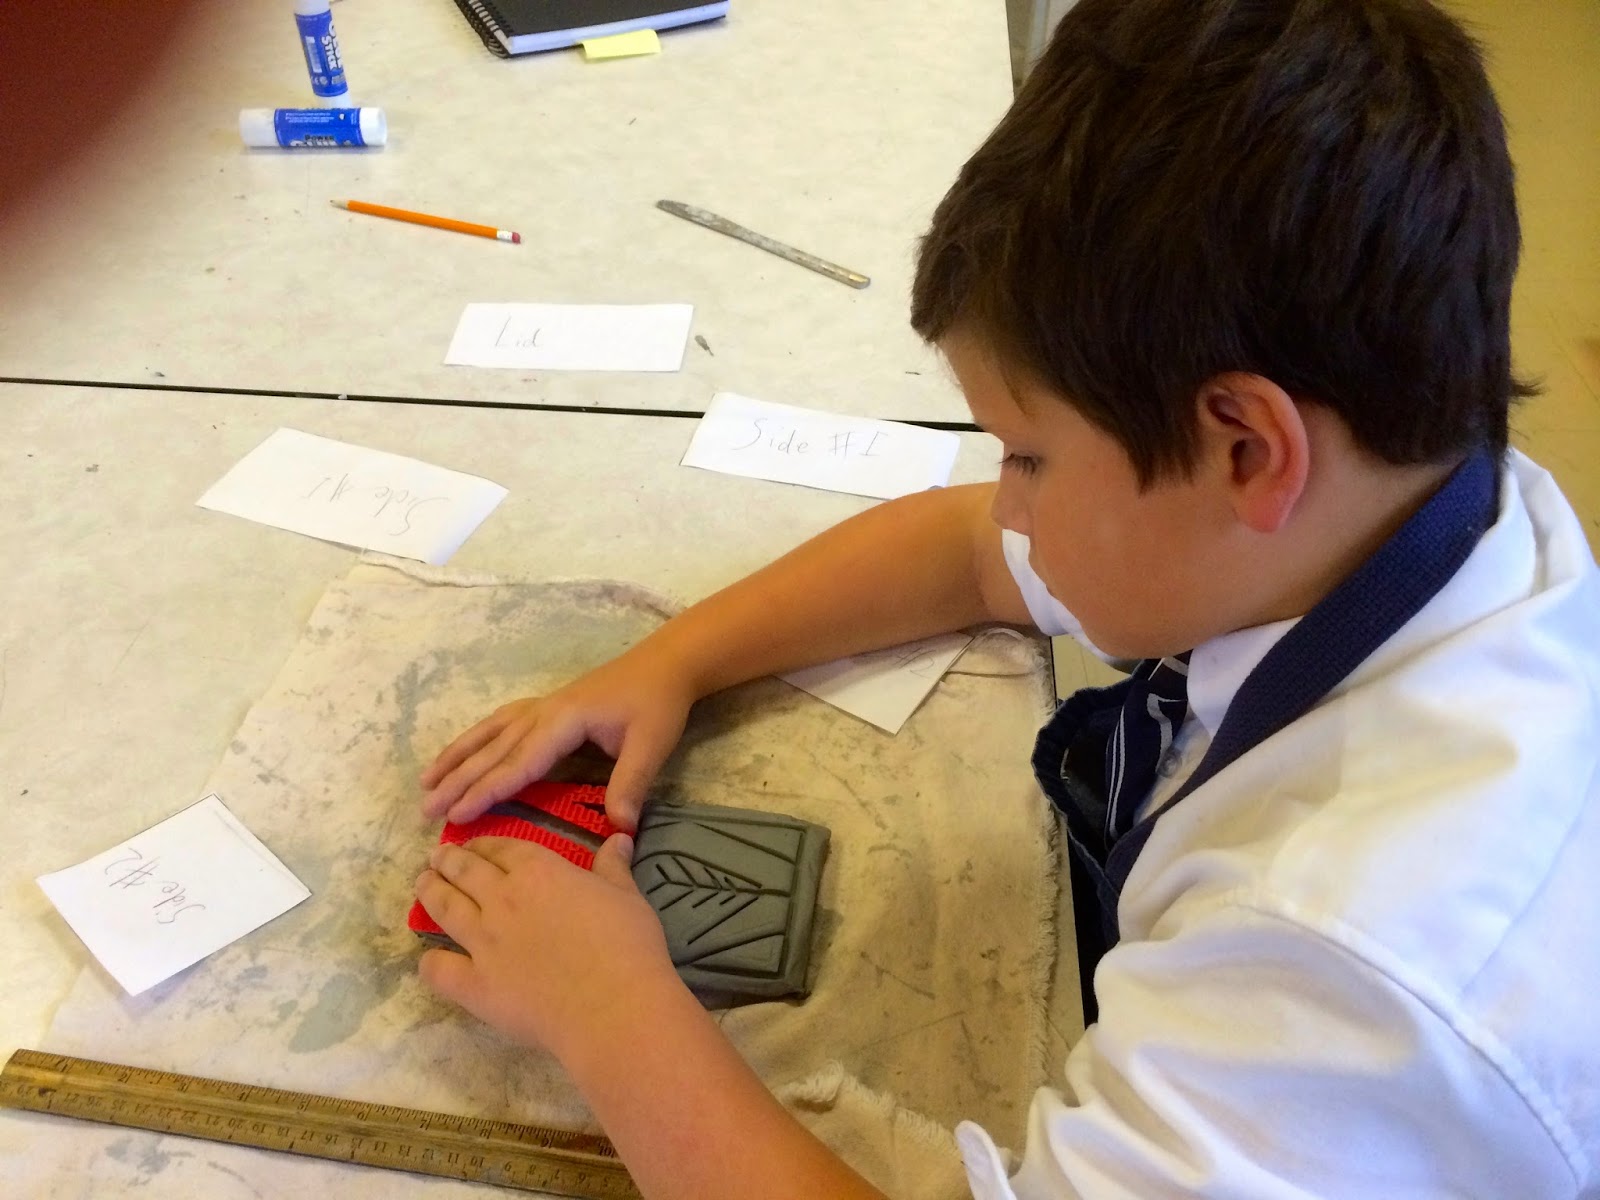
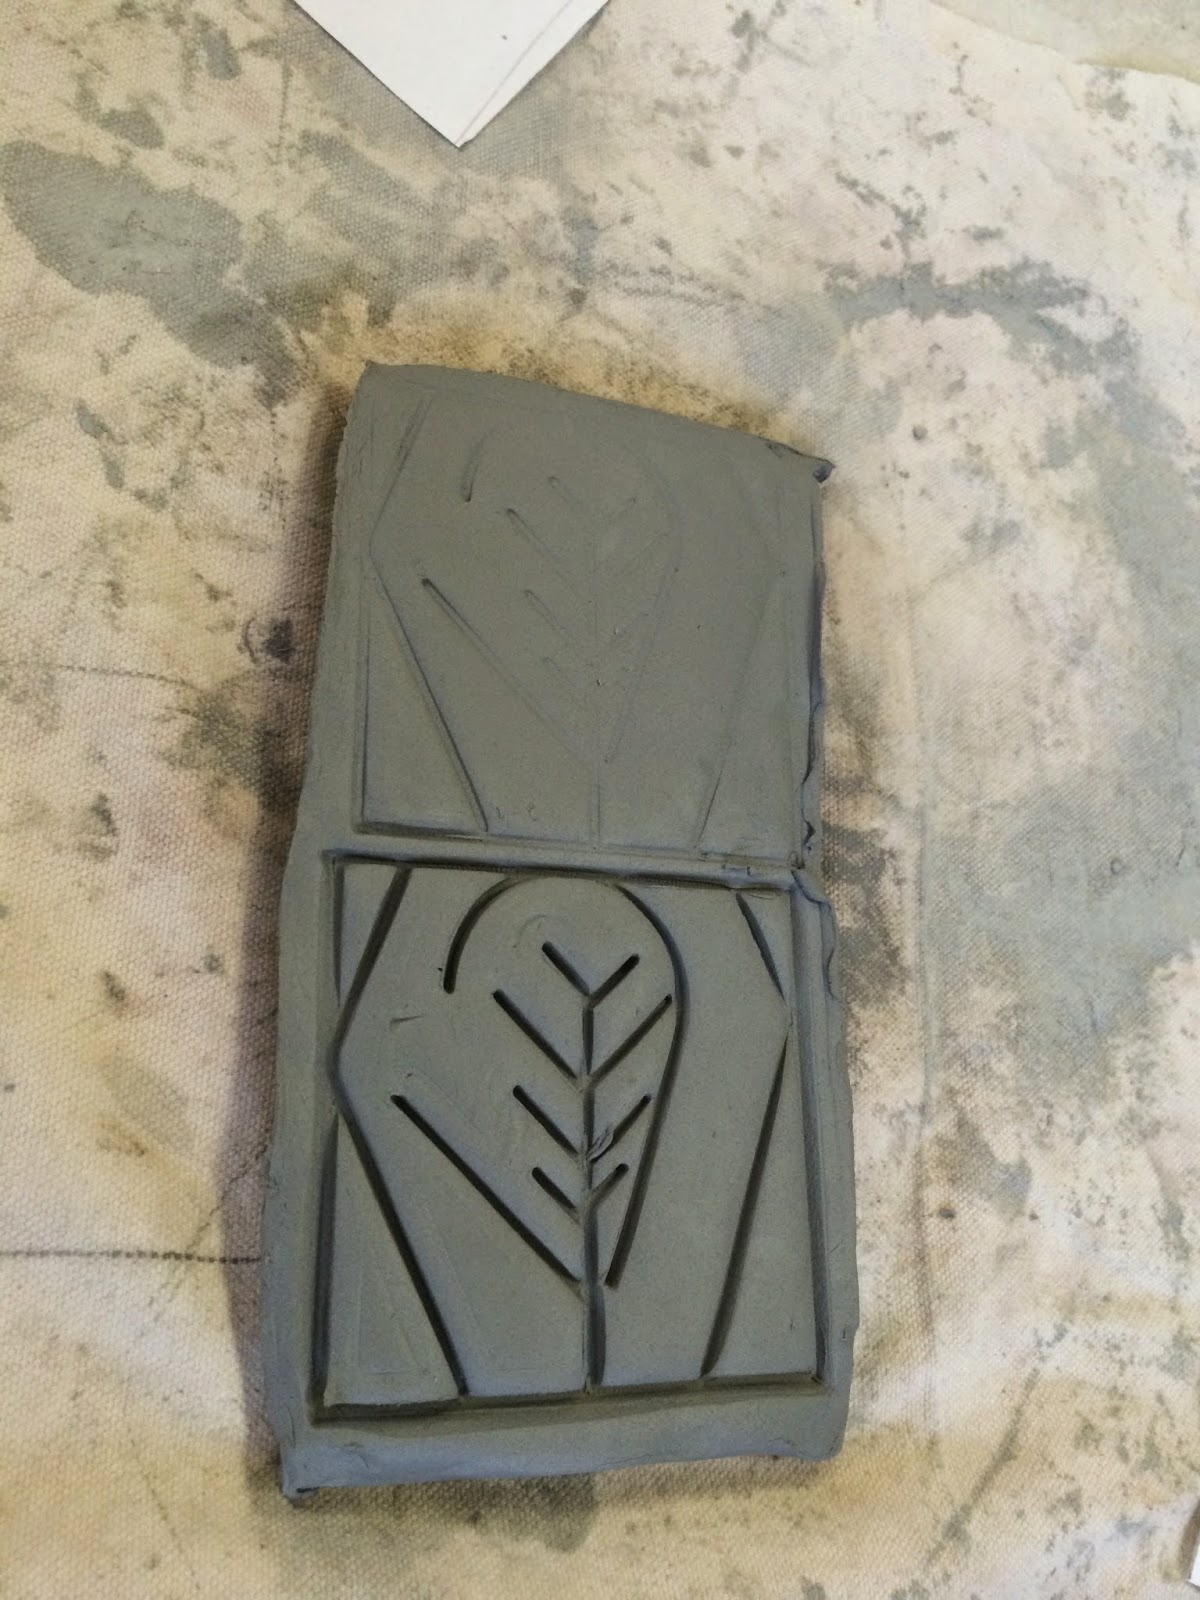
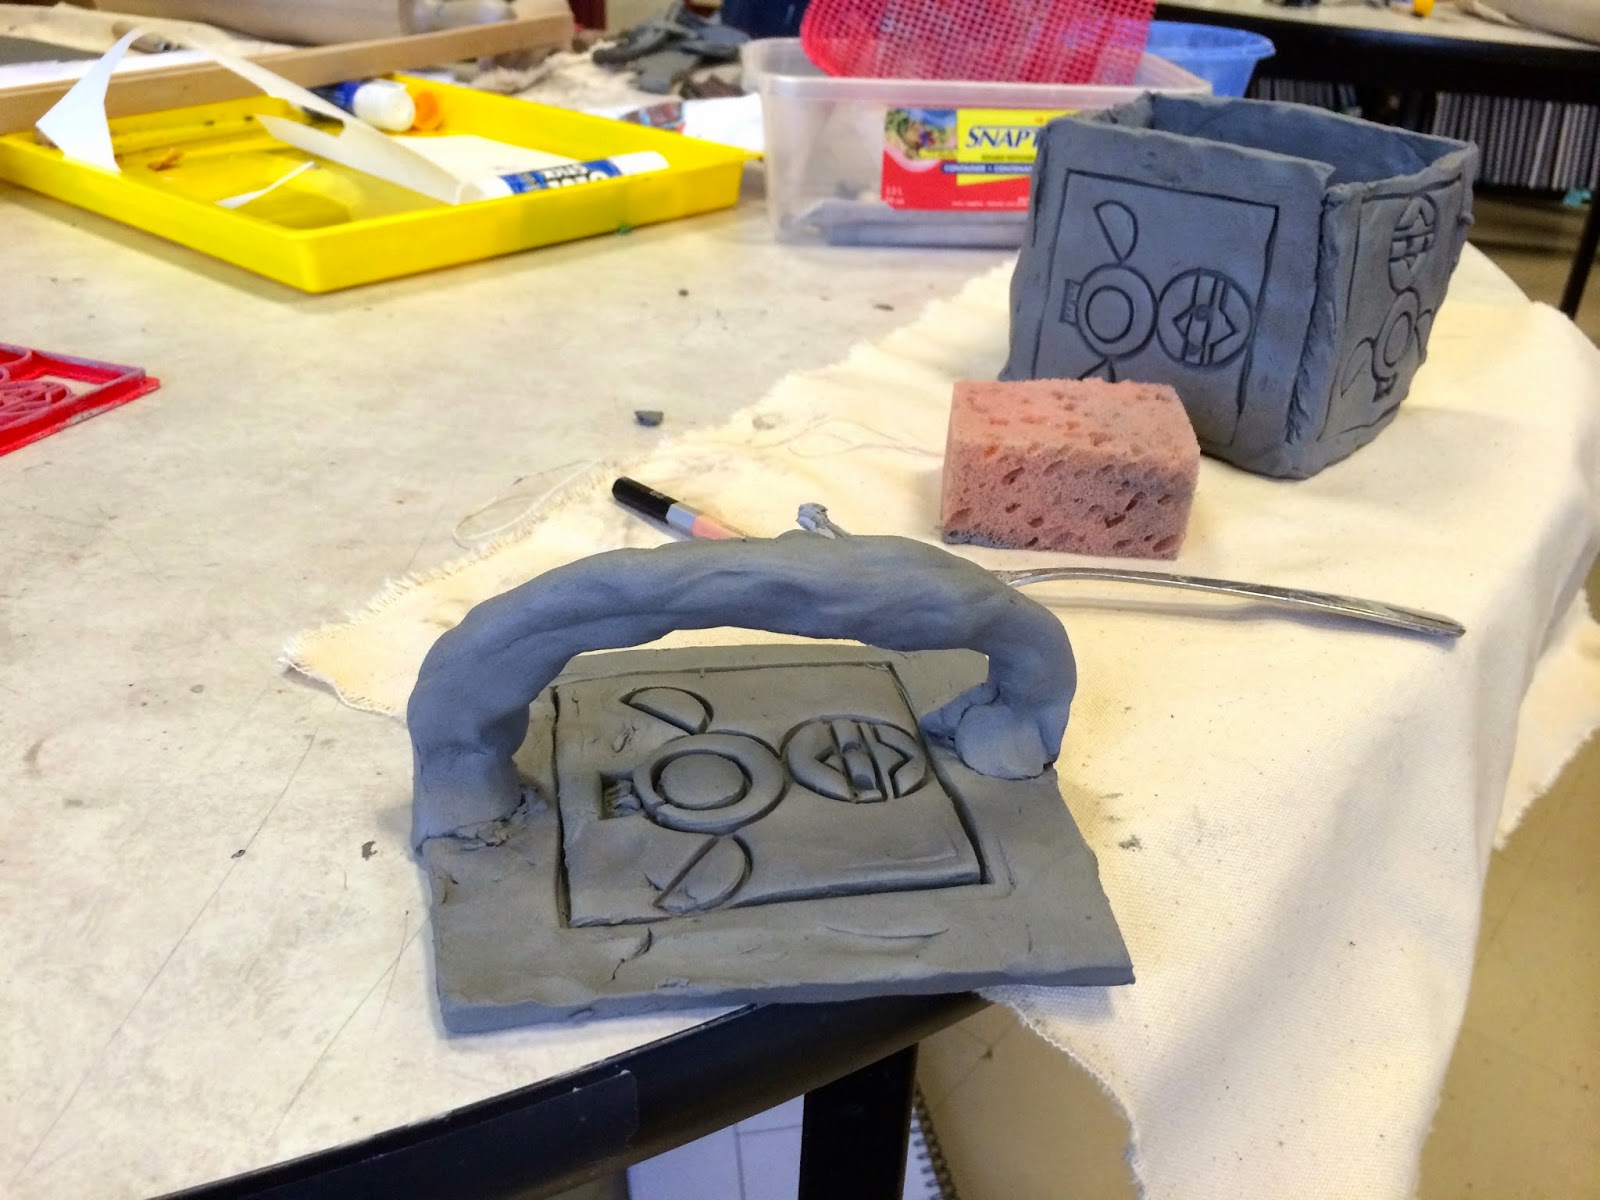
The next step was to take their stamped clay and form it into the container.
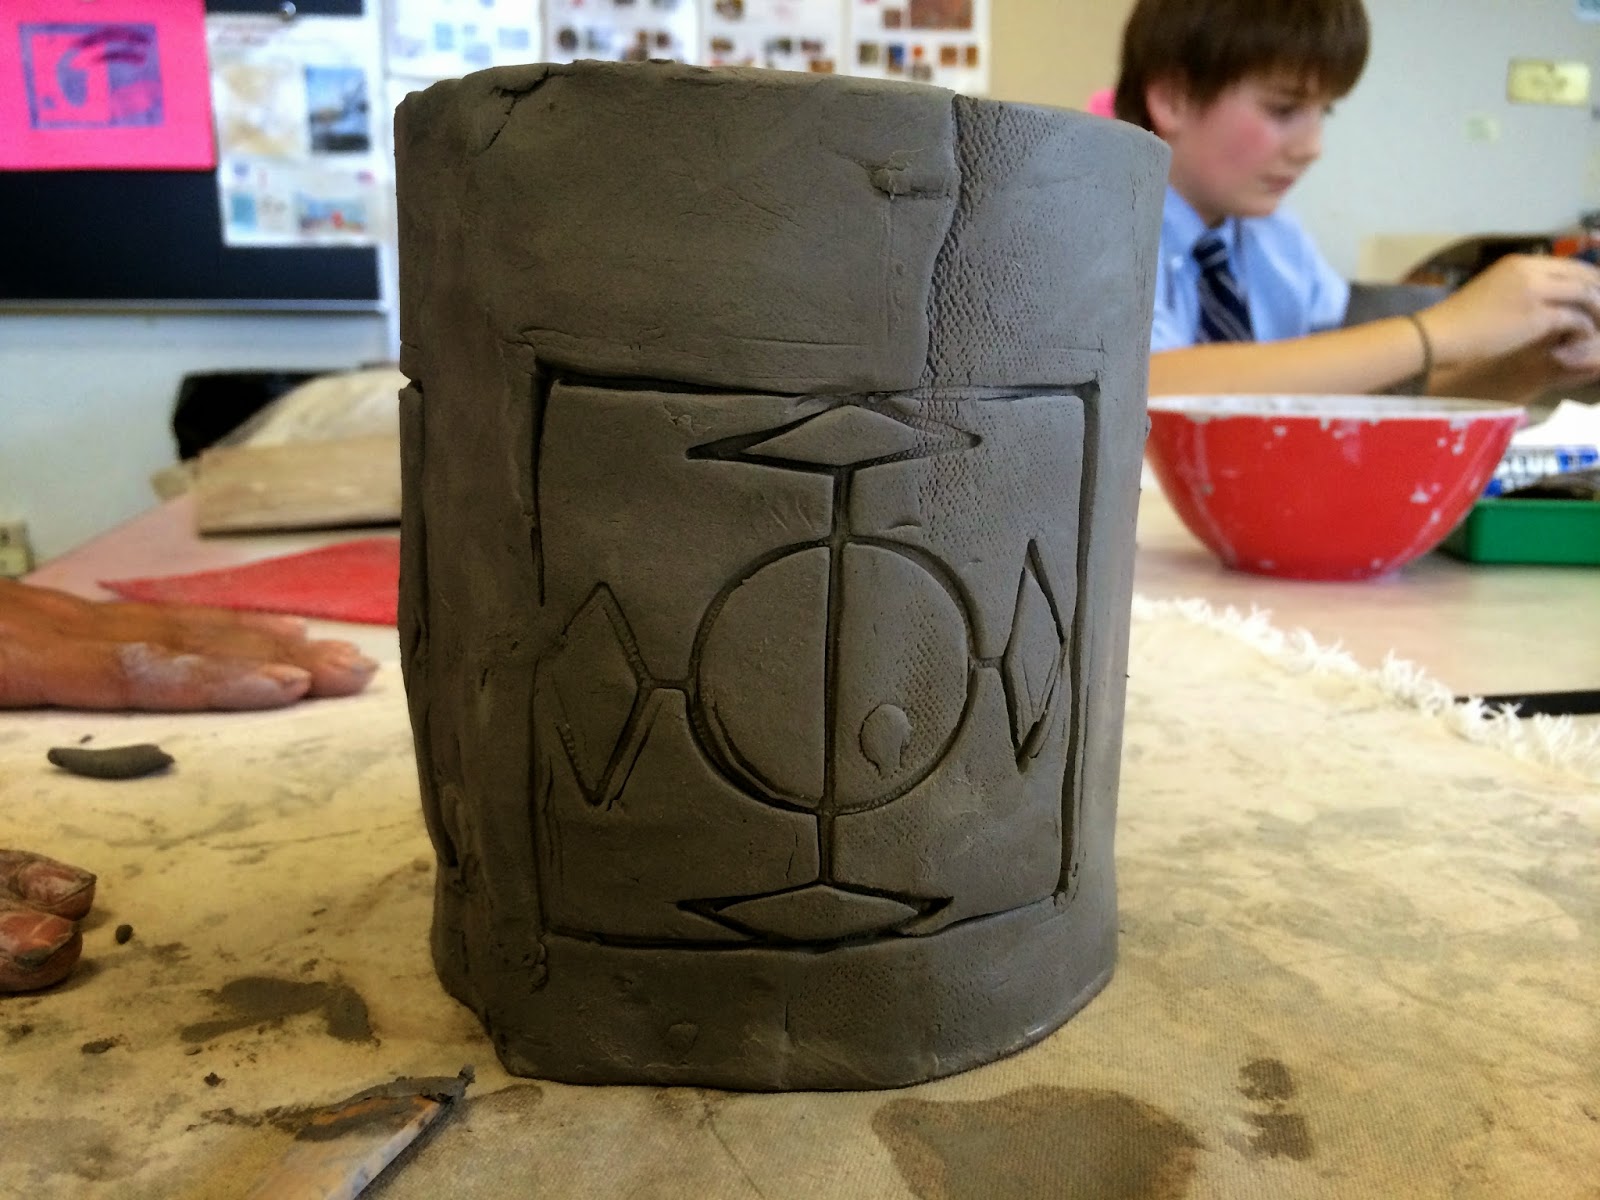
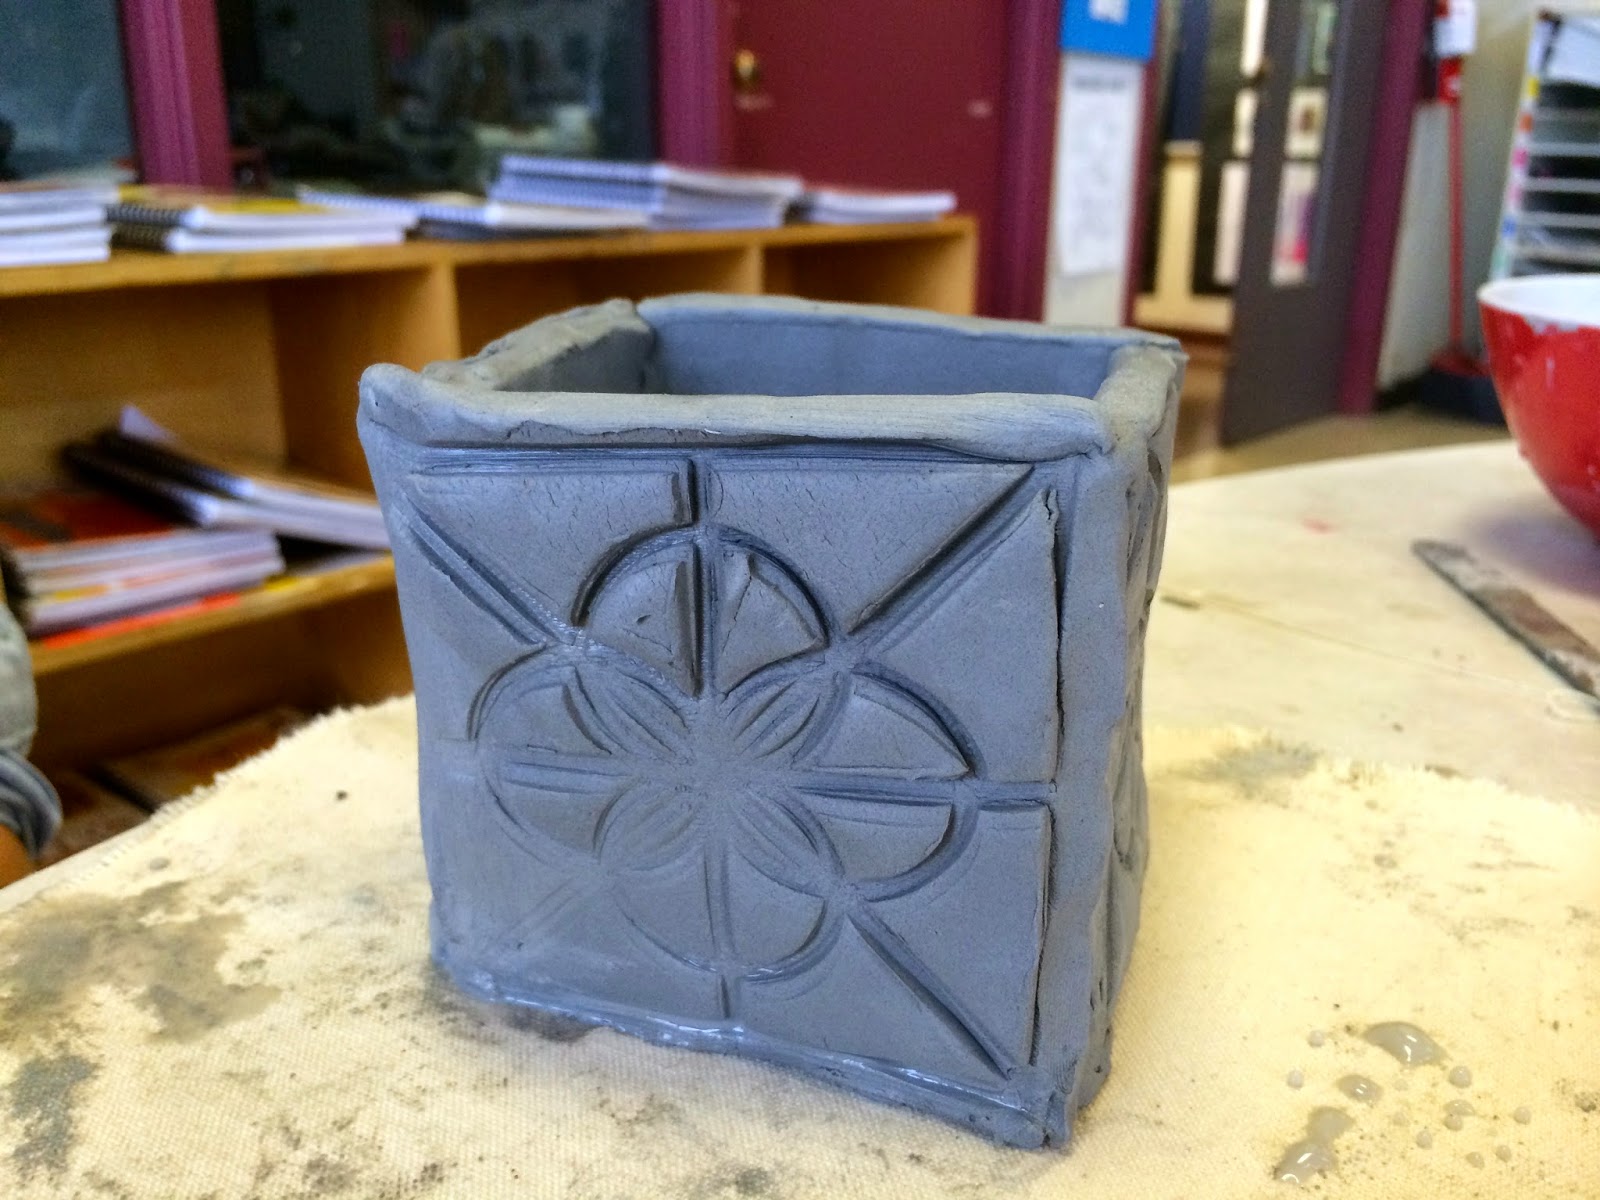
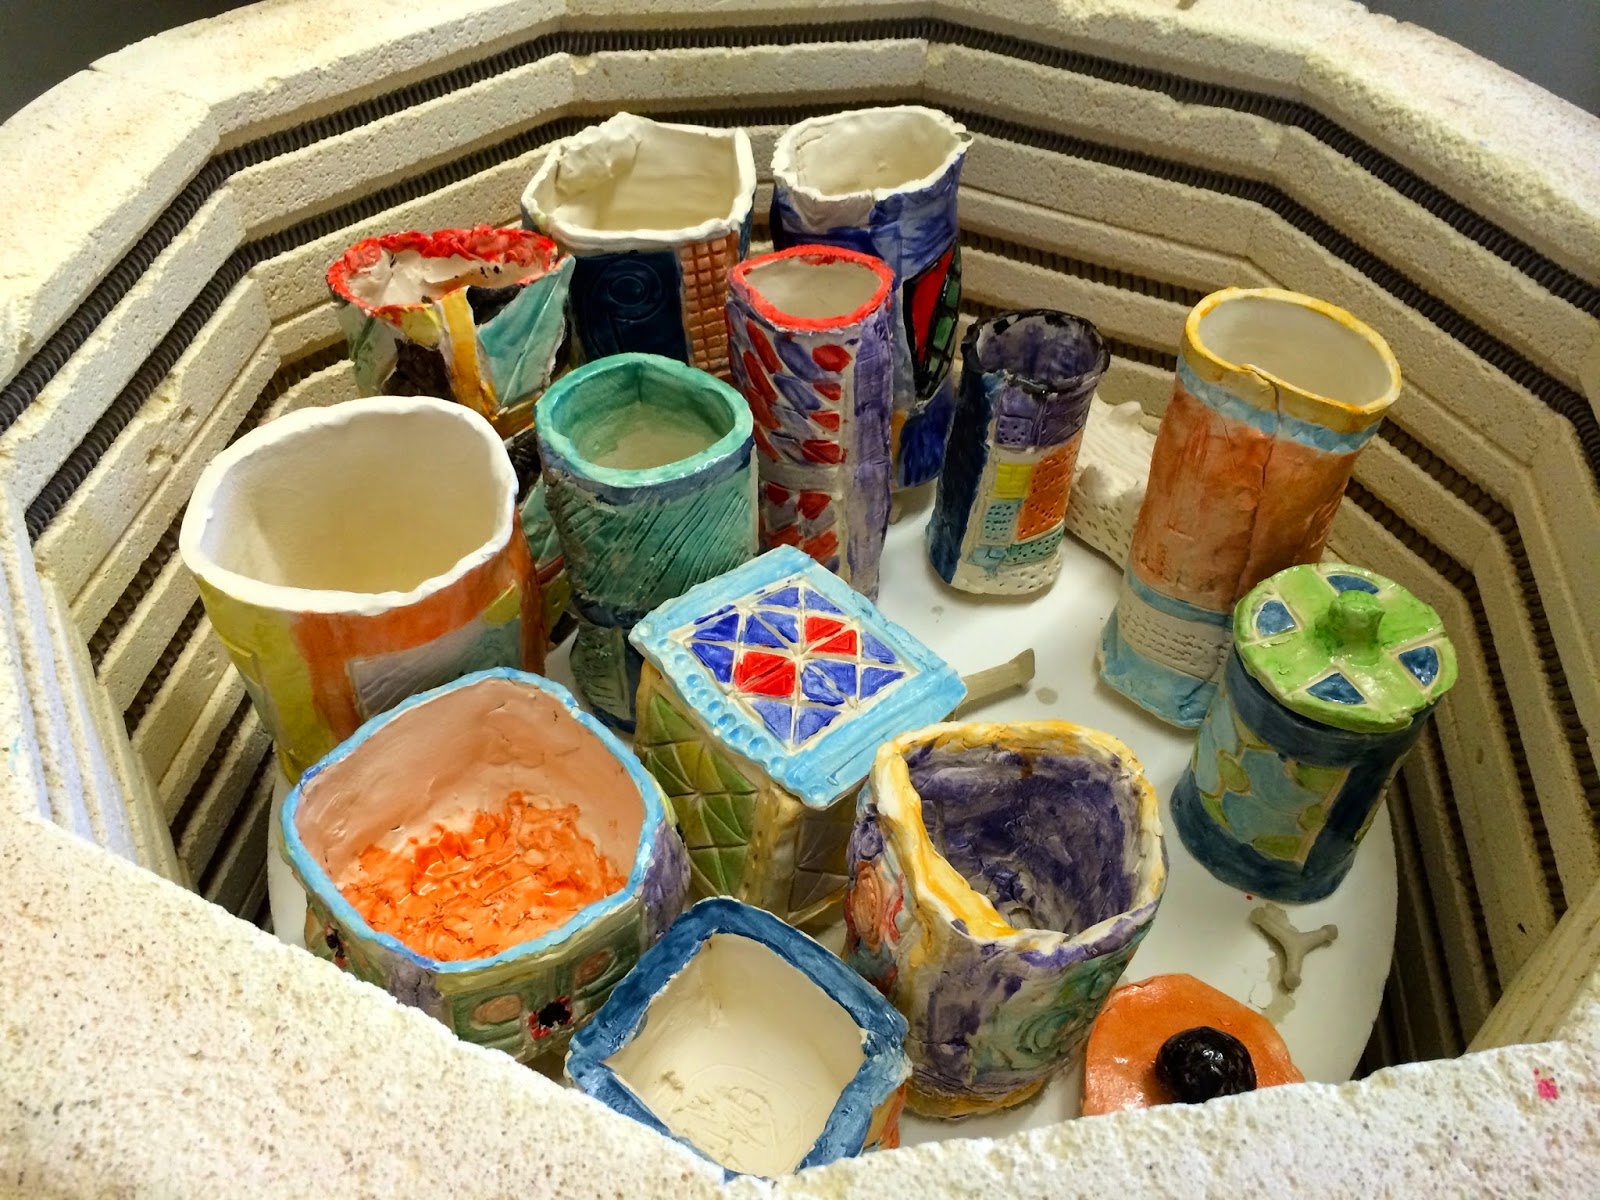
The boys now had to wait while their containers dried slowly over two weeks so they would not explode in the kiln. Once in the kiln they were fired for 24 hours.
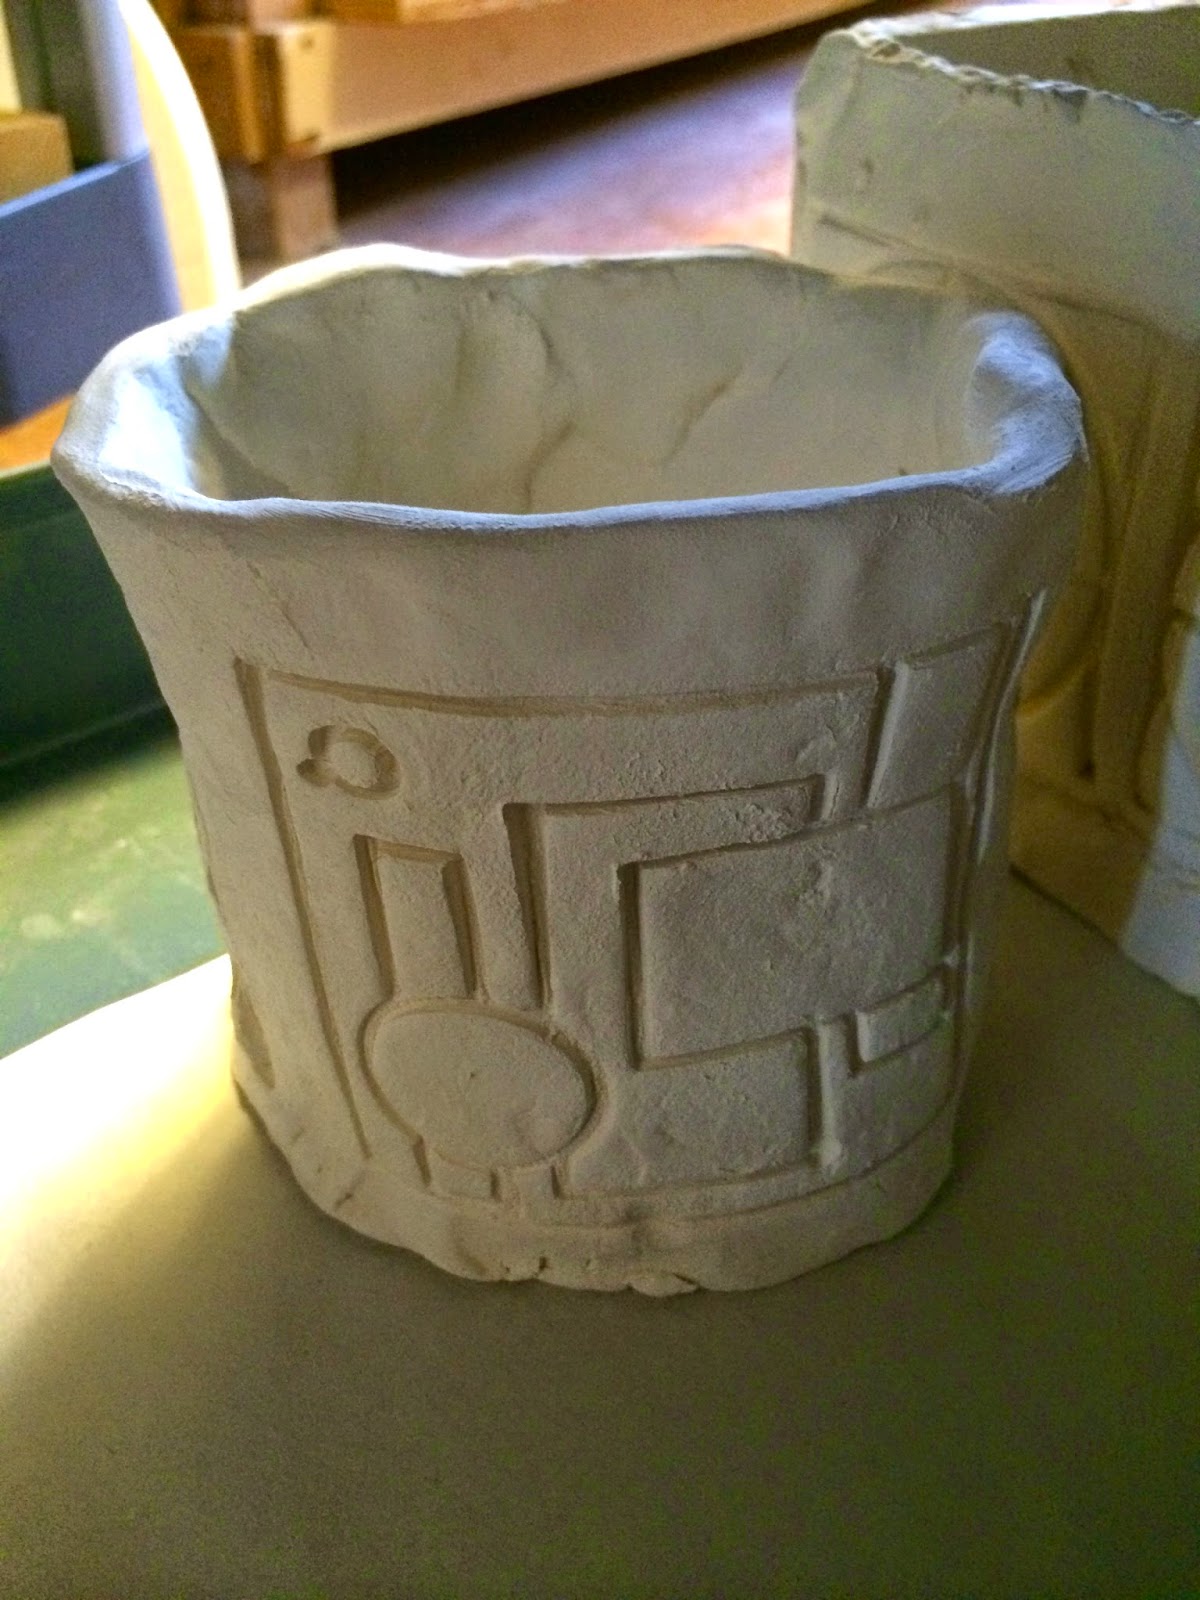
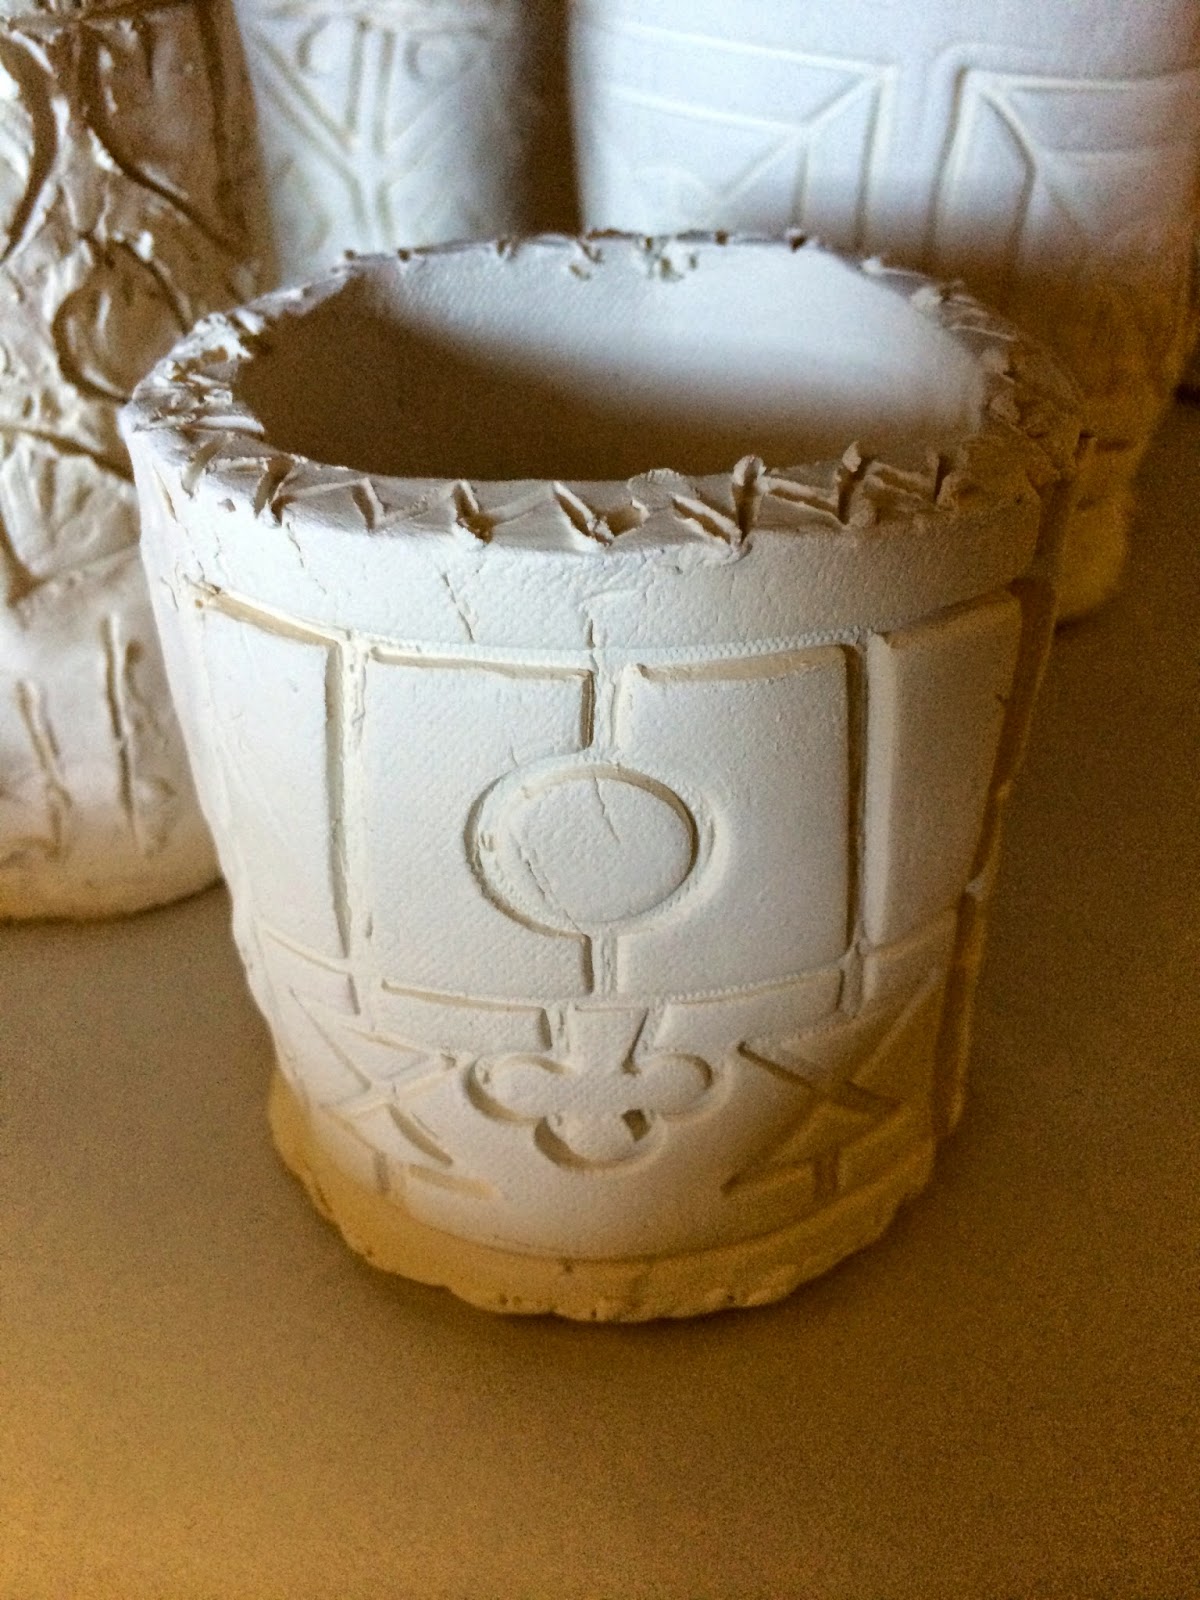
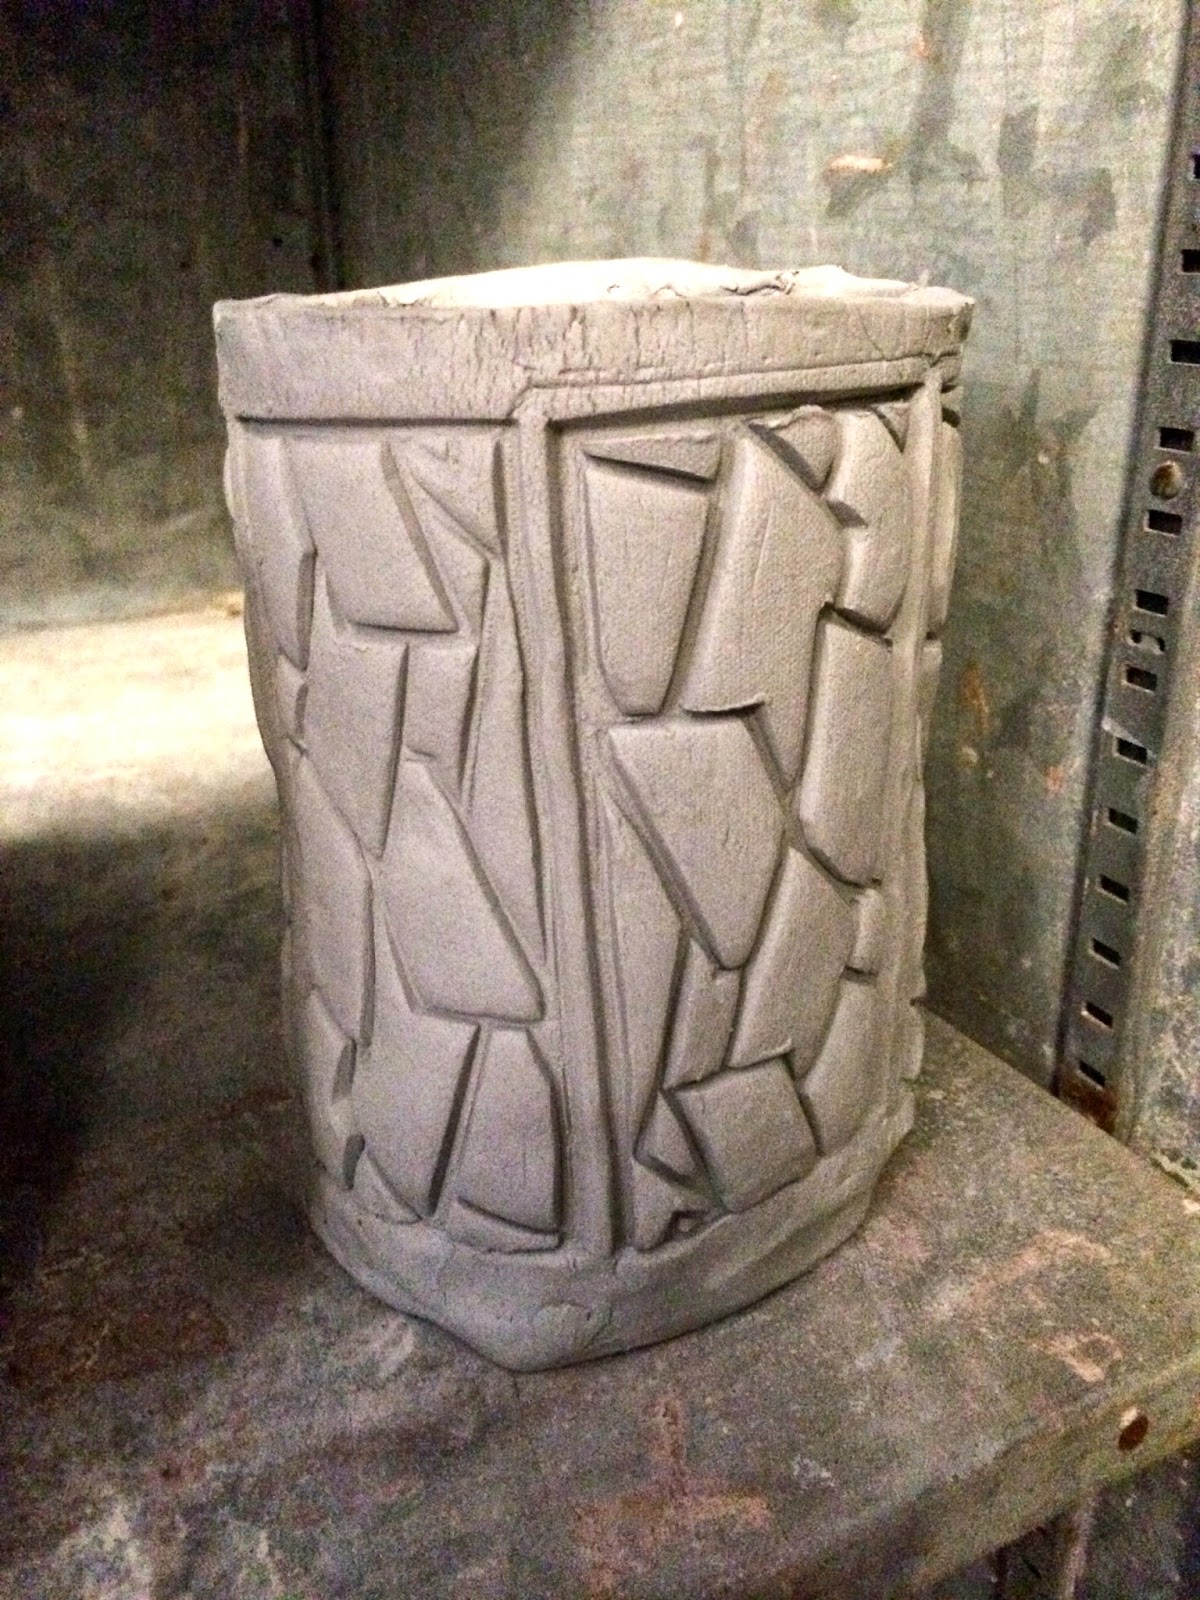
The final step was to add coloured glaze and fire their containers for the final time. The boys were amazed that they had created every single aspect of their container! What a creative process for them to have completed and the final products were outstanding!
Enjoy!


1 comment:
I am so excited to see this remix of my project. Fantastic job, excellent documentation, outstanding results!
Post a Comment